
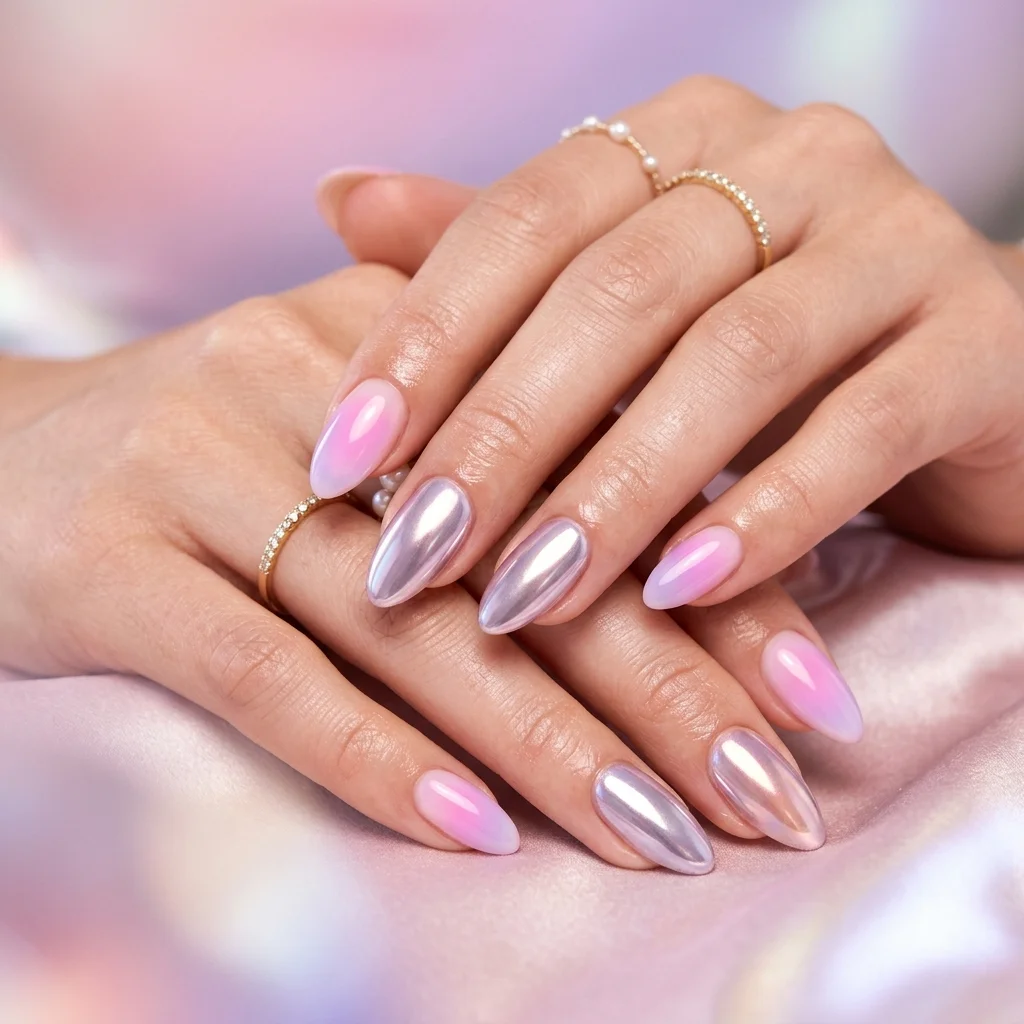
Why I'm Obsessed with 3D Gel Art Chrome Nails (And You Will Be Too)
Okay, let's talk about a nail trend that genuinely makes me gasp every time I finish a set: 3D gel art chrome nails. I'm not talking about your standard chrome dip. I'm talking about building actual, tangible lines and shapes on the nail with gel, then buffing chrome powder over them until they look like they were dipped in liquid metal. The dimension is wild, the shine is unreal, and it's one of the most rewarding advanced techniques I've learned. If you're ready to move beyond flat art and create something that feels sculptural, stick with me. This is the raised gel nail art tutorial you've been waiting for.
The Lowdown: What You Actually Need for Liquid Metal Nails
Before we dive into the steps, let's get your station set up. Having the right tools is non-negotiable for this look. You can't fudge it with a regular gel polish and expect the chrome to stick. Here's my personal checklist:
- A Strong, Soak-Off Builder Gel or Thick Sculpting Gel: This is your foundation for the 3D art. You need a viscosity that holds its shape when you draw with it. I love using a colored gel (like a nude or black) for contrast, but a clear builder gel works beautifully too.
- High-Pigment Chrome Powder: Don't skimp here. A cheap, weak chrome will look dusty. Invest in a highly pigmented "mirror chrome" or "liquid metal" powder for that seamless, reflective finish.
- A Fine-Tip Detailing Brush or Liner Brush: Precision is key. My favorite is a 5mm liner brush—it gives me the control I need for crisp lines.
- A Good Quality, No-Wipe Top Coat: This is your magic primer for the chrome. A traditional top coat with a tacky layer won't work; it has to be a no-wipe formula.
- An Eyeshadow Applicator or Silicone Brush: For buffing the chrome powder. The spongey tip picks up and deposits the powder perfectly.
- Your Standard Gel Kit: Lamp, base coat, top coat, alcohol, cuticle prep, etc.
Step-by-Step: Building Your Raised Gel Nail Art
Step 1: Nail Prep & Base Color
Start with flawless prep. Push back cuticles, shape the nail, dehydrate, and apply your base coat. Cure. Now, apply 1-2 coats of your chosen base color. This could be a bold black to make the chrome pop, or a sleek nude for a more subtle effect. Cure each layer fully. Make sure the surface is clean and free of any dust before moving on.
Step 2: Creating the 3D Gel Art
This is where the magic starts. Take your detailing brush and dip it into your builder/sculpting gel. I like to wipe off the excess on the neck of the bottle so I have a precise, but not globby, amount of product.
- For Lines: Apply gentle, even pressure as you drag the brush across the nail. Move steadily to create a raised line. Think about geometric patterns, swirls, or abstract frames. The gel will hold its shape exactly where you place it.
- For Dots or Accents: Use the tip of your brush to place a small bead of gel where you want a raised dot or a small teardrop shape.
- The Key: Don't overwork it. Once the gel is placed, leave it alone. It will self-level slightly, but its dimension will remain. Now, cure this layer thoroughly. I give it a full 60-second cure under my LED lamp to ensure it's rock solid.
Step 3: The Chrome Application (The Fun Part!)
Once your 3D art is cured and cool, take your no-wipe top coat. Apply a very thin, even layer over the entire nail, including all the raised parts. Cure this layer completely for 30-45 seconds. The surface will now be hard, smooth, and slightly tacky-free—this is the perfect canvas for the chrome.
Grab your eyeshadow applicator, pick up a decent amount of chrome powder, and start buffing it onto the nail in small, circular motions. You'll see the powder instantly bond and create that mirror-like sheen. Buff generously over the raised gel art. The powder will cling to those peaks and valleys, accentuating every bit of dimension. Once the whole nail is coated, use a soft brush to dust away the loose powder from the skin and cuticle area.
Step 4: Sealing the Deal
Now, you have to seal it in. Apply your final top coat. Here's a pro tip: use a thicker, self-leveling top coat and apply it with a gentle touch. You don't want to "smush" the chrome or fill in the texture you just built. Float the top coat over the surface. Cure. Apply a second layer if you want extra durability and shine. And just like that, you've created stunning metallic liquid metal nails with incredible depth.
Pro Tips & Troubleshooting
I've had my share of trials with this technique. Here’s what I’ve learned so you don’t have to make the same mistakes:
- Chrome Won't Stick? Your no-wipe top coat layer probably wasn't cured fully, or it was applied too thickly. A fully cured, thin layer is key. Also, ensure your powder is highly pigmented.
- The 3D Lines Look Messy? Your gel might be too thin, or you're moving too slowly. Use a thicker viscosity gel and work with a confident, steady hand. Practice on a nail tip first!
- Top Coat Bubbles or Smears the Chrome? You're probably applying it too aggressively. Be gentle. A self-leveling formula helps it settle without disturbing the chrome layer underneath.
- Design Ideas: Start simple! A single raised line down the center of the nail is elegant. Try raised chevrons at the cuticle, abstract frames, or tiny dots clustered together. The more you practice, the more intricate your designs can get.
FAQ: Your 3D Chrome Nails Questions, Answered
Q: How long do 3D gel art chrome nails last?
A: With proper application and a good top coat seal, they can easily last 2-3 weeks. The chrome might develop a slight wear at the very tips, but the raised art stays intact. Avoid using your nails as tools to prevent chipping.
Q: Can I do this on natural nails?
A: Absolutely! Just make sure you use a strong base coat designed for natural nails. The 3D gel adds some strength, but if you have very flexible nails, the art might be more prone to lifting. Builder gels are great for adding a bit of structure.
Q: Is chrome powder safe?
A: The powder itself is inert, but it's very fine and can be messy. Always work in a well-ventilated area, and I recommend wearing a mask to avoid inhaling the particles. Wipe down your station thoroughly after use.
Q: What's the difference between this and a regular chrome manicure?
A: A regular chrome mani involves buffing powder onto a traditional gel or regular polish with a tacky layer. It creates a flat, mirror effect. Our method uses raised gel nail art to create literal texture before applying the chrome, resulting in a 3D, sculptural look that plays with light differently. It's a game-changer for dimension.
This technique takes a little patience, but the payoff is massive. It’s one of those services that gets instant, audible reactions from clients. Give it a shot on your next creative set—you'll feel like a nail sculptor. Happy designing!