
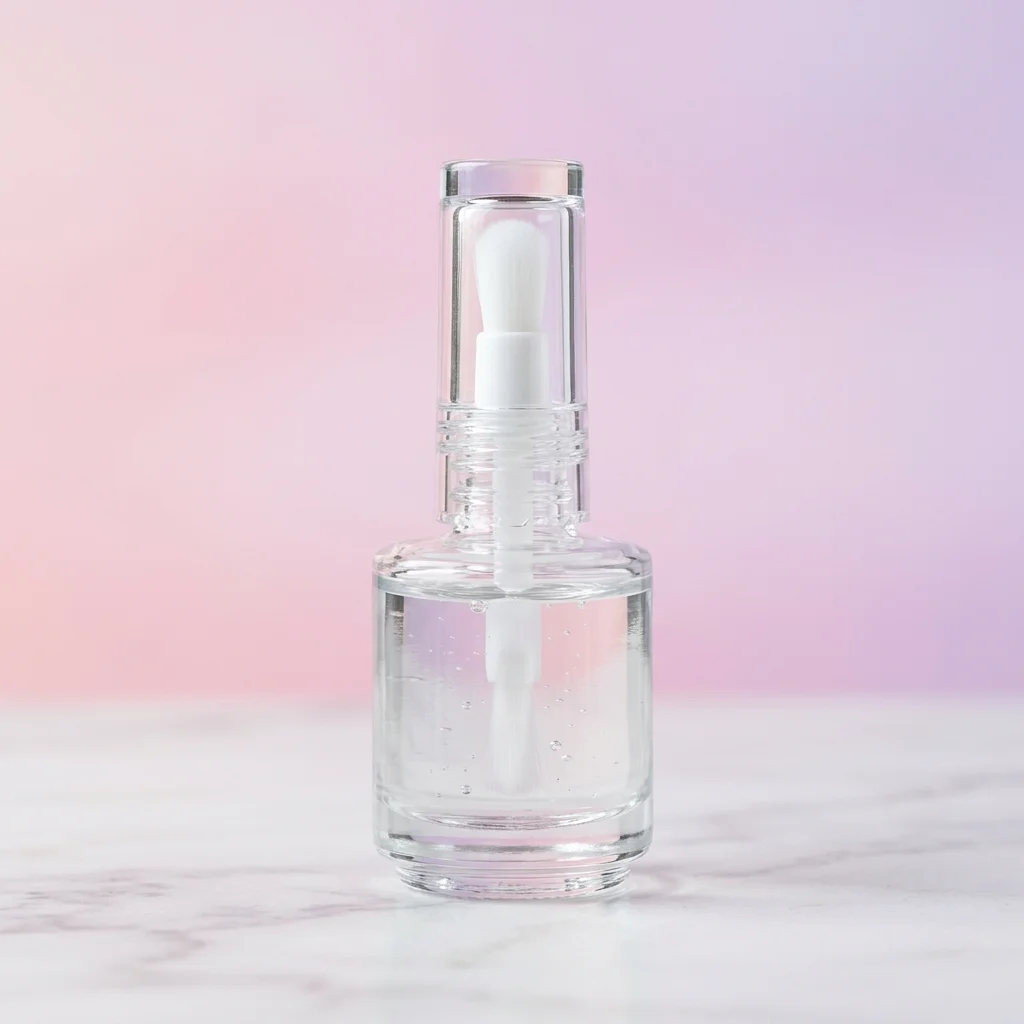
If you've been struggling with nails that crack, peel, or break the second they get any length, I hear you. I've been a nail technician for over 12 years, and a builder gel overlay on natural nails is hands down one of my favorite services to offer clients who want to actually grow their nails out. No tips, no full-cover extensions — just your natural nails, reinforced and protected with a thin layer of builder gel.
I'm going to walk you through the entire process from start to finish. Whether you're a nail tech looking to refine your technique or an at-home enthusiast ready to try this yourself, this brush on builder gel tutorial covers everything you need to know.
What Exactly Is a Builder Gel Overlay?
A builder gel overlay is a thin layer of builder gel applied directly over your natural nail plate. Unlike a regular gel polish, builder gel has a thicker viscosity and self-leveling properties that add structure and strength to the nail. Think of it like a protective shield — it flexes with your natural nail but prevents it from snapping or splitting.
The beauty of this technique is that it works with your real nails, not against them. You're not adding length with tips or forms. You're simply giving your natural nails a fighting chance to grow without damage. Many of my clients come in with nails so brittle they can barely open a soda can. After a few fills with builder gel, they've got nails they're actually proud of.
Builder Gel Overlay vs. Other Nail Enhancements
- Builder gel vs. acrylic: Builder gel is lighter, more flexible, and doesn't require a strong monomer. It's also gentler on the natural nail during removal.
- Builder gel vs. gel polish: Regular gel polish is too thin to provide real structural support. Builder gel has a much higher viscosity and adds genuine strength.
- Builder gel vs. hard gel: Hard gel is typically used for sculpting extensions. Builder gel for overlays can be softer and more forgiving, especially for beginners.
- Builder gel vs. polygel: Polygel is a hybrid that comes in a tube. Builder gel in a bottle with a brush gives you more control for thin, even overlays.
Why Builder Gel Overlays Help You Grow Long Nails
Here's the thing most people don't realize — nails don't actually need vitamins or special serums to grow. They're growing all the time. The problem is that they break before you ever get to see that length. A builder gel overlay solves that by giving the nail a rigid but flexible coating that absorbs impact and prevents breakage.
When you grow long nails with builder gel, you're essentially creating a controlled growing environment. The gel keeps the nail intact while your natural nail grows out underneath. Every two to three weeks, you come in for a fill, and over time you'll notice the free edge getting longer and stronger.
Benefits of Builder Gel Overlays
- Adds noticeable strength without heavy bulk
- Protects nails during daily tasks like typing, washing dishes, and opening packages
- Looks natural — especially when applied thin
- Can be filled repeatedly without soaking off every time
- Allows natural nail growth underneath
- Works great as a base under gel polish color or nail art
- Less damaging removal process compared to acrylic
What You'll Need: Supplies Checklist
Before we dive into this brush on builder gel tutorial, let's make sure you have everything ready. I'll link to what I personally use in the salon — these are products I've tested on hundreds of clients.
- Builder gel in a bottle — I recommend brands like OPI GelColor Builder, F Gel, or Apres Gel-X Extend Gel. Look for one with a self-leveling formula and a built-in brush.
- Nail file — 180 grit for shaping, 240 grit for gentle prep
- Buffer or sanding band — 180 grit to remove shine from the nail plate
- Nail dehydrator and primer — essential for adhesion
- Lint-free wipes
- Isopropyl alcohol (91%) or nail cleanser
- Cuticle pusher and nippers
- LED or UV lamp — make sure it's compatible with your gel (LED is faster and what I prefer)
- Top coat gel
- Cuticle oil
Step-by-Step: How to Apply Builder Gel Overlay on Natural Nails
Step 1: Prep Your Nails Properly
I can't stress this enough — prep is 80% of the job. If your nails aren't prepped correctly, the gel will lift, and you'll be frustrated. Here's my exact prep routine:
- Remove any old product completely. If you have old gel polish on, soak it off with acetone or file it down carefully.
- Push back your cuticles. Use a cuticle pusher to gently push back the proximal nail fold. Trim any hangnails or dead skin with nippers — but don't overdo it.
- Remove the shine. Using a 180-grit buffer or sanding band, lightly buff the entire nail plate. You want to remove the shiny layer without thinning out the nail. It should look matte and slightly chalky.
- Remove dust. Wipe each nail with a lint-free wipe and 91% isopropyl alcohol. Make sure there's no dust, oil, or moisture left on the nail.
- Apply dehydrator and primer. Swipe on a thin layer of nail dehydrator first, let it air dry for about 10 seconds, then apply your primer (acid-free primer is my go-to). The primer should feel slightly tacky — that's normal and helps the gel adhere.
Step 2: Apply a Thin Slip Layer
Now we start building. Dip your brush into the builder gel and apply a very thin layer across the entire nail plate. This is called a slip layer — it's not meant to add structure. It's just a thin, even coat that helps the next layer glide on smoothly.
Avoid touching the cuticle area. Leave about a 1-millimeter gap between the gel and your cuticle line. If the gel touches the cuticle, it will flood and cause lifting. Cure this layer under your LED lamp for 30 seconds (or follow the manufacturer's instructions).
Step 3: Build Your Apex
This is the most important part of a builder gel overlay on natural nails. The apex is a small bead of gel placed at the stress point of your nail — that's the area right above the smile line, or roughly the center-to-upper third of the nail.
Here's how I do it:
- Flip your hand upside down for about 5 seconds. This lets gravity pull the gel into a natural dome shape at the stress point. You want a gentle hill, not a mountain.
- Don't apply too much product. A thin, natural-looking overlay should only add about 1–2 millimeters of thickness at most. We're going for strength, not bulk.
- Cure for 30–60 seconds under your LED lamp.
Step 4: Shape and Refine
Once all ten nails are cured, it's time to shape. Use your 180-grit file to refine the shape — square, round, almond, whatever you prefer. Also go over the surface gently to smooth out any uneven areas or bumps.
Dust off the filing debris with a brush, then wipe each nail with alcohol on a lint-free wipe. This removes the tacky inhibition layer left after curing.
Step 5: Apply Top Coat
Seal everything in with a gel top coat. This gives the overlay that gorgeous, glossy finish and protects the builder gel underneath. Apply one even coat, cap the free edge of the nail, and cure for 60 seconds.
Step 6: Finish With Cuticle Oil
This step is non-negotiable for me. After you're done, massage a good cuticle oil into the skin around each nail. It keeps your cuticles healthy, promotes flexibility, and honestly just feels amazing. I tell all my clients to use cuticle oil at least twice a day.
Fill Schedule: Maintaining Your Builder Gel Overlay
You don't need to soak off builder gel every appointment. That's one of the things I love most about this service. Here's the maintenance timeline I recommend:
- Every 2–3 weeks: Come in for a fill. I'll gently file back the grown-out area near the cuticle, reapply builder gel to the regrowth, and reshape the nail.
- Every 6–8 weeks: I recommend a full soak-off and reapplication to check the health of your natural nails underneath. This is a great time to assess if your nails are getting stronger and longer.
- At home between fills: Apply cuticle oil daily. Avoid using your nails as tools (I know, it's hard). Wear gloves when cleaning or doing dishes.
Common Mistakes to Avoid
- Skipping or rushing prep: This is the number one reason overlays lift. Take your time with prep.
- Applying gel too thick: Thick layers won't cure properly in the center, leading to soft spots and lifting.
- Getting gel on the cuticle or skin: Any gel on skin can cause irritation or allergic reactions over time. Always leave a small gap.
- Using the wrong lamp: Make sure your lamp matches the wavelength your gel brand requires. If it's not curing all the way through, that's a huge problem.
- Picking off your gel: Please don't. You'll take layers of your natural nail with it. Always soak off properly with acetone if you need to remove the overlay.
- Not filling regularly: If you let the overlay grow out too far, the center of gravity shifts and you'll get breakage right where the gel meets the natural nail.
Tips for Growing Out Especially Weak Nails
If your nails are in really rough shape — peeling, paper-thin, constantly breaking — here are some extra things I recommend alongside a builder gel overlay:
- Start short. Don't try to grow length right away. Keep the overlay at the current nail length for the first month or two while your nails strengthen.
- Use a nail strengthener underneath. Some clients benefit from a protein-based nail strengthener applied under the dehydrator step.
- Supplement with biotin. I'm not a doctor, but many of my clients have seen improvement with daily biotin supplements (check with your physician first).
- Avoid acetone exposure. Acetone is extremely drying. When you do need to soak off, follow up with intensive moisturizing and cuticle oil.
- Be patient. Full nail growth takes 4–6 months. Give yourself time.
Frequently Asked Questions
Can I do a builder gel overlay at home?
Absolutely. With the right products and a little practice, many people do their own builder gel overlays at home. Just be patient with your technique — your first few applications might not be perfect, and that's okay.
How long does a builder gel overlay last?
With proper application and maintenance, a builder gel overlay can last 2–3 weeks before needing a fill. The overlay itself can stay on indefinitely with regular fills.
Will builder gel damage my natural nails?
When applied and removed correctly, builder gel is one of the least damaging enhancements. The most common damage comes from improper prep (over-filing) or removal (peeling it off). Follow the steps above and you should be fine.
Can I put gel polish color over a builder gel overlay?
Yes! This is one of the best parts. You can apply gel polish over cured builder gel just like you would over a base coat. The overlay adds strength, and the gel polish adds color. Win-win.
How thin should a builder gel overlay be?
For natural nails, I aim for about 1–2 millimeters of total thickness. It should look like your natural nail, just smoother and stronger. If it looks bulky, you've applied too much.
Do I need a UV or LED lamp for builder gel?
Most builder gels in a bottle are LED-compatible and cure in 30–60 seconds. Always check the product instructions. If your gel is UV-only, you'll need a UV lamp (usually 2-minute cure time).
Building out your natural nails with a builder gel overlay is genuinely one of the best things you can do if you're tired of weak, breaking nails. It takes a little patience and the right technique, but the results speak for themselves. Give it a try — your nails will thank you.
