Builder gel is the home-manicure upgrade nobody warns you you'll get obsessed with. It's a thicker gel that adds strength and a subtle structure to your natural nails — no tips, no acrylic fumes, no salon appointment. In the video above, you'll see a full beginner-friendly builder gel overlay on natural nails from start to finish; below, I've broken down every step, the exact products that make it work, and the beginner mistakes that cause lifting.
What you'll learn
How to apply a builder gel overlay on your natural nails for added strength and a clean, structured finish — prep, application, the all-important apex, and a glossy seal.
Why a builder gel overlay?
An overlay is a thin layer of builder gel applied right over your natural nail — no extension, no length added. It's the perfect middle ground: stronger and more chip-resistant than regular gel polish, but far more natural and beginner-friendly than acrylic or hard-gel extensions. If your nails are thin, peel, or won't grow past a certain point, an overlay protects them while they recover. It's also the foundation skill for everything else — once you can do an overlay, extensions are just the next step.
What you'll need
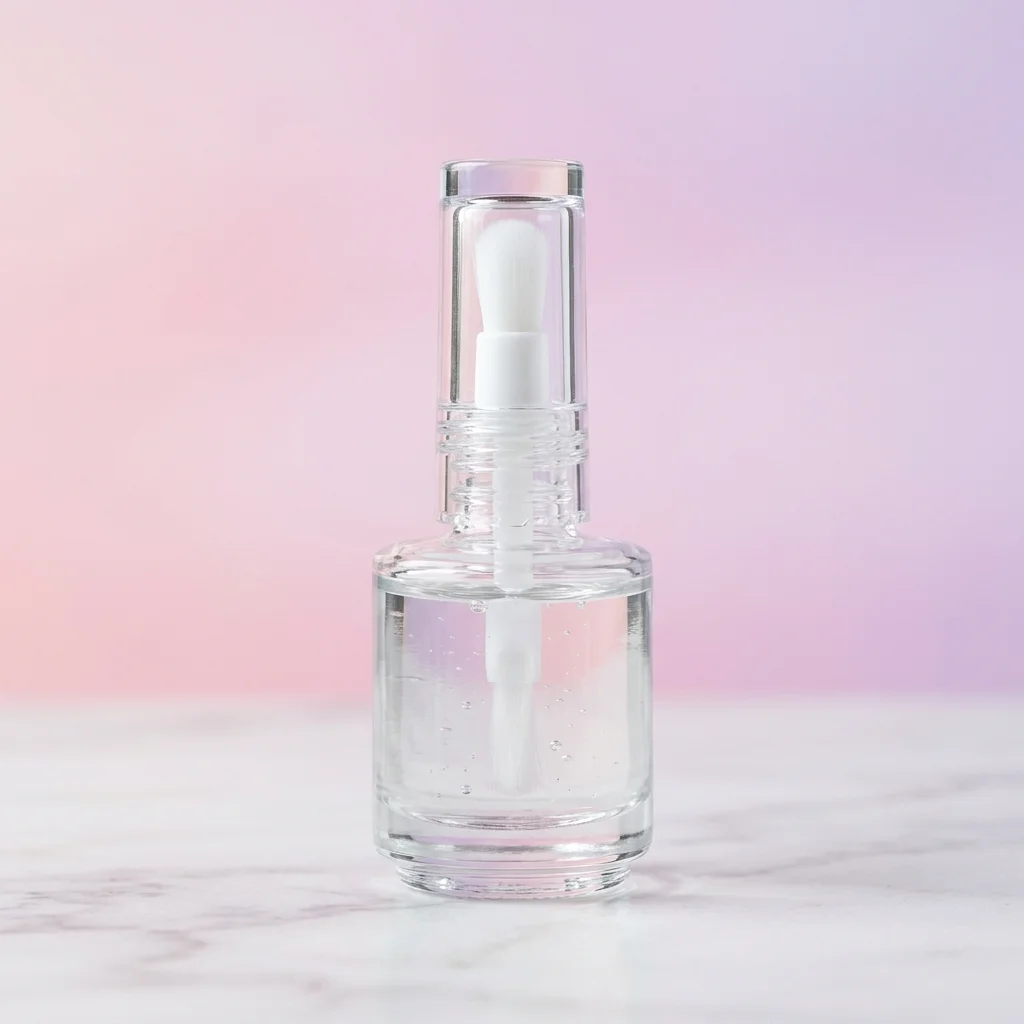
- A builder gel in a bottle — the bottle-and-brush format is far easier for beginners than tub-and-spatula
- A gel base coat and a glossy no-wipe top coat
- A UV/LED lamp to cure each layer — the SUNUV Sun3 is a reliable home pick
- A nail prep dehydrator and a lint-free wipe with cleanser
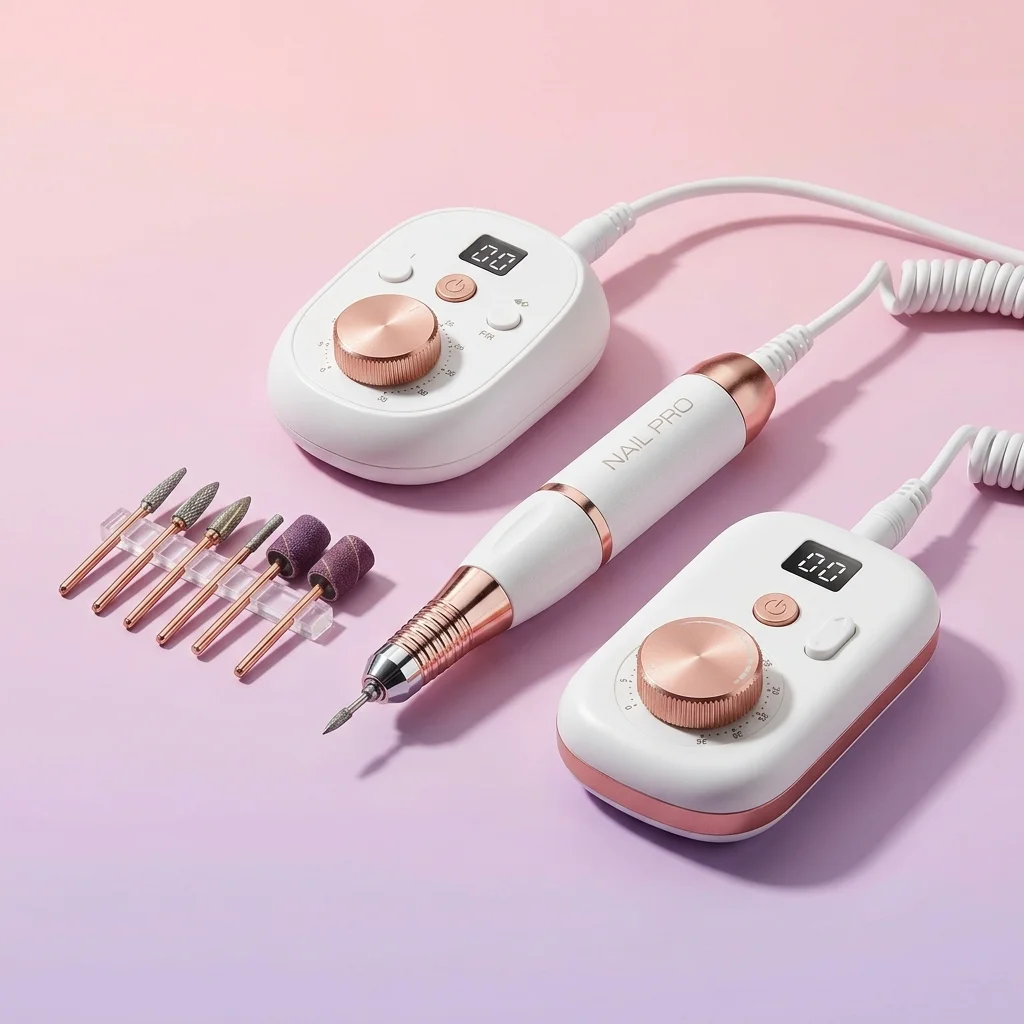
- Optional but recommended: an e-file or a hand buffer for prep and refining
Step by step (follow along with the video)
- 1. Prep is everything. Push back cuticles, gently buff the shine off the nail plate, brush away dust, and wipe with a dehydrator. Builder gel lifts when it's applied over oils or shine — clean, matte prep is what makes it last.
- 2. Thin base coat. Apply a thin gel base and cure. This is the bond layer between your nail and the builder gel.
- 3. Float on the builder gel. Place a bead of builder gel in the center of the nail and guide it out toward the edges — don't brush it like polish. Let it self-level for a few seconds. Keep it off the cuticle and sidewalls.
- 4. Build the apex. The apex — the slightly raised strength point in the center of the nail — is what gives an overlay its durability. Tip the finger down so gravity pulls the gel into place before you cure. This one step separates a set that lasts from one that cracks.
- 5. Cure fully. Cure under your lamp for the time your gel specifies. Under-curing is a top cause of lifting and a tacky, weak finish.
- 6. Refine and finish. Lightly file the shape smooth if needed, wipe, then apply a glossy top coat and cure. Finish with cuticle oil.
Beginner mistakes that cause lifting
Do this
- Buff and dehydrate the nail before anything else
- Keep the gel off the cuticle and sidewalls
- Build a proper apex for strength
- Cure each layer for the full recommended time
Avoid this
- Applying over shiny or oily nails (instant lifting)
- Flooding the cuticle, which peels within days
- One thick, flat layer with no apex
- Rushing the cure or skipping the dehydrator
Questions people keep asking
What's the difference between builder gel and hard gel?
They overlap a lot. "Builder gel in a bottle" is a beginner-friendly, brushable version designed for overlays and short extensions. Traditional hard gel is thicker and usually applied with a spatula for longer extensions. For a natural-nail overlay, bottle builder gel is the easy choice.
Can I use builder gel on my natural nails without tips?
Yes — that's exactly what an overlay is. You apply it straight over your own nail for strength and a smooth finish, no tips or forms required.
How long does a builder gel overlay last?
With good prep and a proper apex, three to four weeks is typical before a fill. It outlasts regular gel polish because the layer is thicker and stronger.
How do I remove it?
Most soak-off builder gels come off with an acetone soak, like gel polish, though it takes longer because the layer is thicker. Some are file-off only — check your product. Never peel it off; that takes layers of your natural nail with it.
Do I need an e-file, or can I do it by hand?
You can absolutely do an overlay with just a hand buffer. An e-file makes prep and refining faster and cleaner, but it's optional for a simple overlay.
Bottom line
A builder gel overlay is the highest-impact skill you can add to your home-manicure routine — real strength and a clean, structured finish without the commitment of acrylic. Get a brushable builder gel, a decent lamp, and nail the prep-and-apex basics in the video, and you'll have nails that look done and actually last.
Disclosure: As an Amazon Associate we earn from qualifying purchases made through links on this page, at no extra cost to you. The embedded video is the work of its respective creator.