
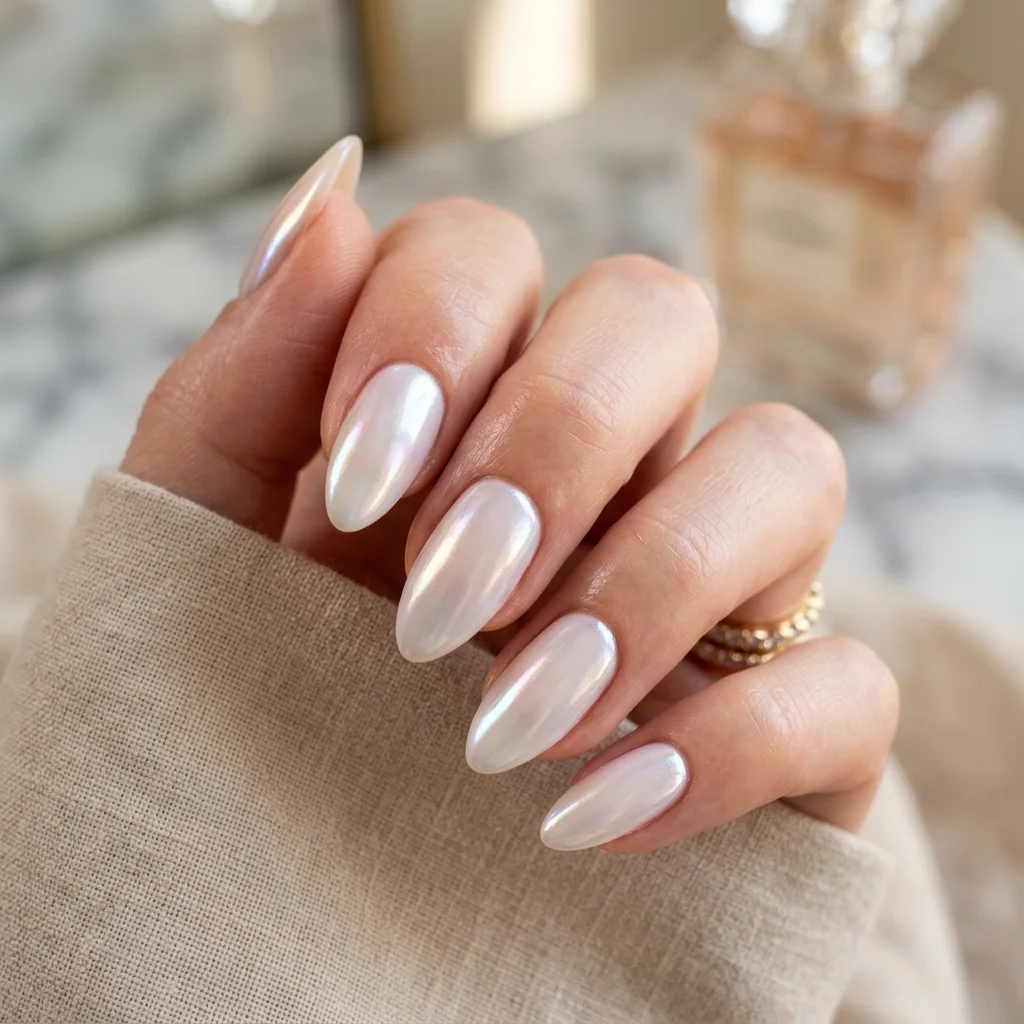
That Glazed Donut Glow? It's for Your Toes Too.
I'll be honest with you—when the glazed donut nail trend exploded, I immediately thought about pedicures. Everyone was obsessed with that milky, luminous finish on fingertips, but summer was coming. Toes were about to be on full display in sandals and barefoot at the beach. Why should fingers have all the fun? That chrome-over-gel look is stunning on a fresh pedicure. It’s ethereal, it’s multidimensional, and it makes even the simplest white polish look incredibly luxe. Let me walk you through exactly how to get this viral look on your toes for a pedicure that actually lasts.
What Exactly is the Glazed Donut Pedicure Trend?
At its core, it’s about creating that signature Hailey Bieber “glazed” effect—where the nails look like a shiny, sugary, almost liquid donut—on your toenails. We’re talking about a sheer, milky white or soft pink base that’s then topped with a white or pearl chrome powder. The magic happens when you rub that ultra-fine powder into the cured gel, creating a seamless, holographic sheen that shifts in the light. It’s not glitter, and it’s not just shimmer. It’s a smooth, glassy finish that gives the illusion of depth and a perfect, expensive-looking glow. This white pearl chrome pedicure is the ultimate summer vibe.
Why This Look is a Game-Changer for Pedicures
Let’s be real: pedicures can sometimes feel like an afterthought. A solid color is nice, but it doesn’t have the “wow” factor. That’s where this trend changes the game.
- It’s Shockingly Forgiving: That chrome overlay is excellent at diffusing light, which means minor imperfections on the nail plate or slight variations in the base color are beautifully camouflaged. It creates a uniform, flawless surface.
- It Elevates Simple Shades: You don’t need a complex nail art design. A basic milky white becomes extraordinary with a layer of chrome. It’s maximum impact with minimal effort in terms of color choices.
- It’s Incredibly Versatile: While the classic is white over white, you can play with sheer pinks, lavenders, or even light blues as your base color. The chrome will adapt, giving you a different kind of glow each time.
- It’s Built for Summer: This finish looks amazing with a tan. It catches the sunlight on the beach, in the pool, or under patio lights at night. It’s the ultimate accessory for open-toed shoes.
Your Step-by-Step Chrome Toes Tutorial
Okay, let’s get down to business. Creating a lasting glazed donut pedicure trend look requires the right prep and products. Don’t skip steps—pedicures endure a lot more friction than manicures.
What You’ll Need: The Professional’s Toolkit
Gather these supplies before you start. Using a full gel system is non-negotiable for the chrome to adhere and for longevity.
- Prep & Sanitize: Nail files, buffer, cuticle pusher & nippers, alcohol-based cleanser, dehydrator, and acid-free primer.
- Gel System: A high-quality base coat, a sheer milky white or pink gel polish color, a no-wipe top coat. (A no-wipe top coat is crucial for the chrome to stick).
- The Star of the Show: White Pearl or Platinum Chrome Pigment Powder. I recommend a superfine powder for the smoothest application. A small silicone tool or eyeshadow applicator is perfect for rubbing it in.
- Finishing Touches: A soft brush for dusting off excess powder, a final coat of top coat to seal everything in, and cuticle oil.
The Process: From Prep to Glazed Perfection
- Prep is Everything: Start with a thorough pedicure. Shape the toenails, gently push back and trim cuticles, and buff the nail surface to remove shine. Cleanse with alcohol to remove all dust and oils. Apply dehydrator and primer—this is the foundation for a pedicure that won’t lift.
- Build Your Gel Base: Apply a thin layer of base coat and cure fully. Now, apply your chosen sheer color. For the classic glazed look, use a milky white. I like to do two thin coats, curing between each, to get that perfect, even coverage. The color should be opaque enough to cover the nail line but still see a hint of the natural nail bed.
- The Magic Step: Top Coat & Chrome: This is where it gets good. Apply a thin, even layer of your no-wipe gel top coat. Cure it fully under your lamp. As soon as it’s cured, while it’s still warm, take your silicone applicator, dip it into the white pearl chrome powder, and begin gently rubbing it onto the nail surface. Use circular motions and light pressure. You’ll see the powder start to adhere and transform into that signature glazed sheen. Cover the entire nail, getting close to the cuticle and sidewalls without flooding them.
- Lock It In: Take your soft brush and gently sweep away all the loose, excess powder from the nail and the surrounding skin. This is a critical step for a clean finish. Then, apply one final layer of top coat—make sure it’s a no-wipe one!—and cure it. This seals the chrome in permanently, giving it durability and that incredible glossy depth. Finish with cuticle oil on the surrounding skin.
Pro Tech Tips for Flawless, Long-Lasting Chrome Toes
As a tech who’s done hundreds of these, here are my hard-earned secrets:
- Shake Your Chrome Powder: The pigments can settle. Give the jar a good shake before you use it for the most even application.
- Work One Toe at a Time: Curing the no-wipe top coat makes the surface tacky enough for the powder to adhere. If you try to do all toes at once, the top coat on the big toe might have cured too long and won’t grab the powder as well. Work systematically, toe by toe.
- Less is More with Pressure: You’re not trying to sand the nail. Gentle, consistent rubbing is what creates a smooth, even film. Too much pressure can create bald spots.
- Cap the Free Edge: Make sure your base color and top coats properly wrap over the tip of the toenail. This seals the edges and prevents premature chipping from socks or shoes.
- Choose Your Lamp Wisely: Ensure your UV/LED lamp is powerful and reliable for full curing. Under-cured gel is the number one reason for lifting and service breakdown.
FAQ: Your Glazed Pedicure Questions, Answered
Q: Can I get this look with regular polish?
A: Unfortunately, no. The chrome powder needs the sticky, cured surface of a no-wipe gel top coat to bind to. Regular polish dries too smooth and won’t hold the powder. You’d need a special chrome polish product, which won’t give you the same true “glazed” effect.
Q: How long does a glazed donut pedicure last?
A: With proper application and a quality gel system, you should get a solid 3-4 weeks out of it, easily lasting through a vacation or the better part of a summer season. The chrome layer is sealed under top coat, so it won’t rub off.
Q: Will it ruin my toenails?
A: Not at all, as long as it’s applied and removed correctly. The gel itself doesn’t damage nails; improper preparation or aggressive removal does. Always have gel polish removed professionally or use proper soak-off techniques at home—never peel or scrape it off.
Q: Can I use a different color chrome powder?
A: Absolutely! While white pearl is the classic, try a pink chrome over a sheer pink base for a rosé champagne effect, or a soft blue chrome for a cool, icy vibe. The principle is the same.
So there you have it. The glazed donut pedicure is more than just a fleeting trend—it’s a modern, sophisticated technique that makes your toes look like little glossy sculptures. It’s the perfect way to bring a little bit of that celebrity nail magic to your summer look. Give it a try; your feet deserve to sparkle just as much as your hands.