
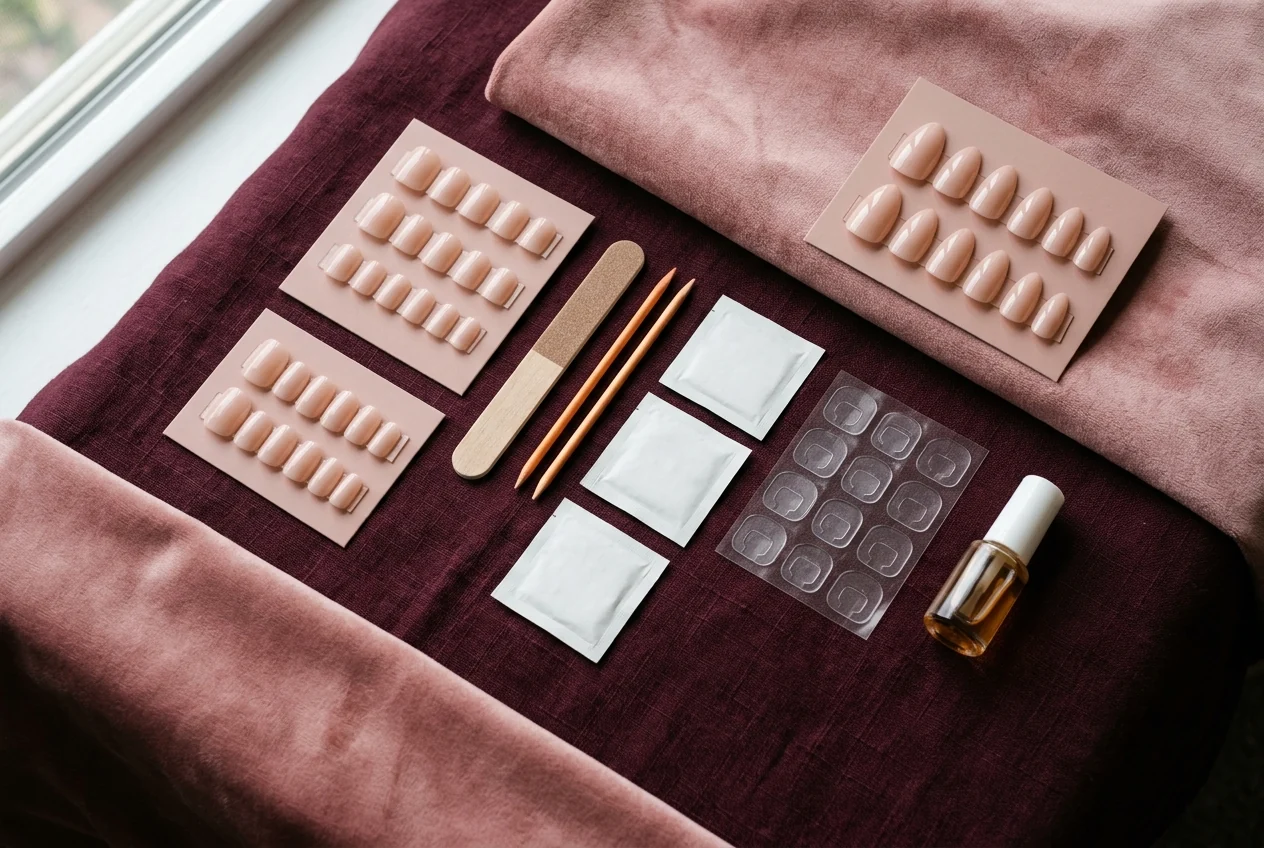
Picture opening a box and finding that one thumb tip leaves a slim strip of nail visible along one edge while the next sweeps past both sidewalls. That small mismatch says more about the kit than a large piece count printed on its lid.
The package and product listing can identify stated contents, while the opened tray lets you compare individual widths and curves. Piece count describes what is in the box; it does not show whether the assortment includes widths and curves that suit your nails, with nearby alternatives when a first choice is close.
Read the fit before the count
At the fitting table, arrange tips by their printed or molded markings. Those markings are an index within that kit, not a measurement shared across brands, and the cuticle-side edge belongs toward the base of the natural nail.
The thumb mismatch becomes clearer from the sides. A candidate that leaves visible width uncovered may be too narrow; one whose edges need to be pressed inward may be too wide or shaped for a different curve. Check the side edges and cuticle end as well as the overhead view, then make a finger-by-finger map for both hands with close alternatives beside each selection.
If no available tip covers a nail without an obvious sidewall compromise, the assortment has a meaningful gap for that nail. A different design, length, or attachment route does not change a basic width mismatch.
Then compare the C-curve, the crosswise arch visible from the front or back. Natural nails vary in how flat or curved that arch appears, so two similarly wide tips can rest differently: an even resting position differs from one that rocks, bridges noticeably, or needs pressure at the sides. What works here stays specific to the kit and the wearer.
Thumbs deserve their own comparison because they may need a different width range. A broad thumb selection is useful to inspect, not a guarantee for every remaining finger.
Once coverage and arch look plausible, shape and length can follow. A short profile, tapered silhouette, and extended free edge bring different looks and practical feel, while tasks involving fingertip precision, repeated contact, or frequent hand washing can make a shorter profile more appealing for a particular routine.
Keep nearby spares through attachment and removal
Keep selected tips in finger-by-finger order, with the nearest alternatives beside them. Extra tips matter most around the markings you may wear: they support a close comparison, correct an initial choice before attachment, and leave a matching option if one tip later needs replacement. Extras far from that range add to the total without adding much flexibility.
When a listing gives the number of sizes and the distribution of tips by size, it says more about the assortment than a total count alone. Without those details, the range remains unanswered.
| In the tray or directions | What it helps you check |
|---|---|
| Size markings and neighboring tips | Whether close candidates and useful spares sit near the sizes selected for each finger |
| Glue or adhesive tabs, if included | Which attachment route the kit names |
| Named prep and removal items | Whether the full written process can be considered before application |
From there, the tray leads naturally to the attachment route. Liquid glue and adhesive tabs are distinct routes even when both appear in one kit, and the stated components need to cover every nail along with any prep items the kit names. The selected kit's written application, preparation, and removal steps remain the relevant directions; techniques from another nail format or a social video are not interchangeable.
Maker cautions come first.
Removal belongs in the same decision before application begins. The products or tools named for the selected kit, brand, and attachment method identify the removal plan, and soft gel nail tips remain separate from ready-made press-ons with their own fitting and application context. If soft gel is the system under consideration, see fitting soft gel nail tips.
For a category-specific comparison of the two press-on attachment options, see press-on nail glue versus adhesive tabs.
Five fitting-room questions
I am between two sizes. What should stay aside?
Keep both marked candidates with the finger map. Their side edges, cuticle end, and crosswise arch can settle the comparison.
What if one thumb falls outside the kit's range?
That is an assortment limitation for that nail. A broad thumb selection is worth inspecting, but it cannot promise an option for every thumb or every remaining finger.
When are duplicate sizes actually useful?
Duplicates are most useful near the selected markings, where they support a close comparison and leave a matching replacement option.
The kit names a removal item I do not have. Can application wait?
Yes. The named removal process is part of the full kit process, not an item to leave unresolved after the set is attached.
How does a gift or already-opened kit get assessed?
The box or listing can identify stated contents and the attachment route; the opened tray then allows finger-by-finger selection before adhesive.
The 30-second box-label screen
At the shelf or on a product page, ask these three questions about what is visible.
- Does the label say how many tips and sizes are included, or how they are distributed?
- Does it name the shape and length?
- Does it show whether glue or tabs, plus any named prep and removal supplies, are included?
Actual fit waits until the box is open and candidates can rest over the reader's own nails before adhesive.