
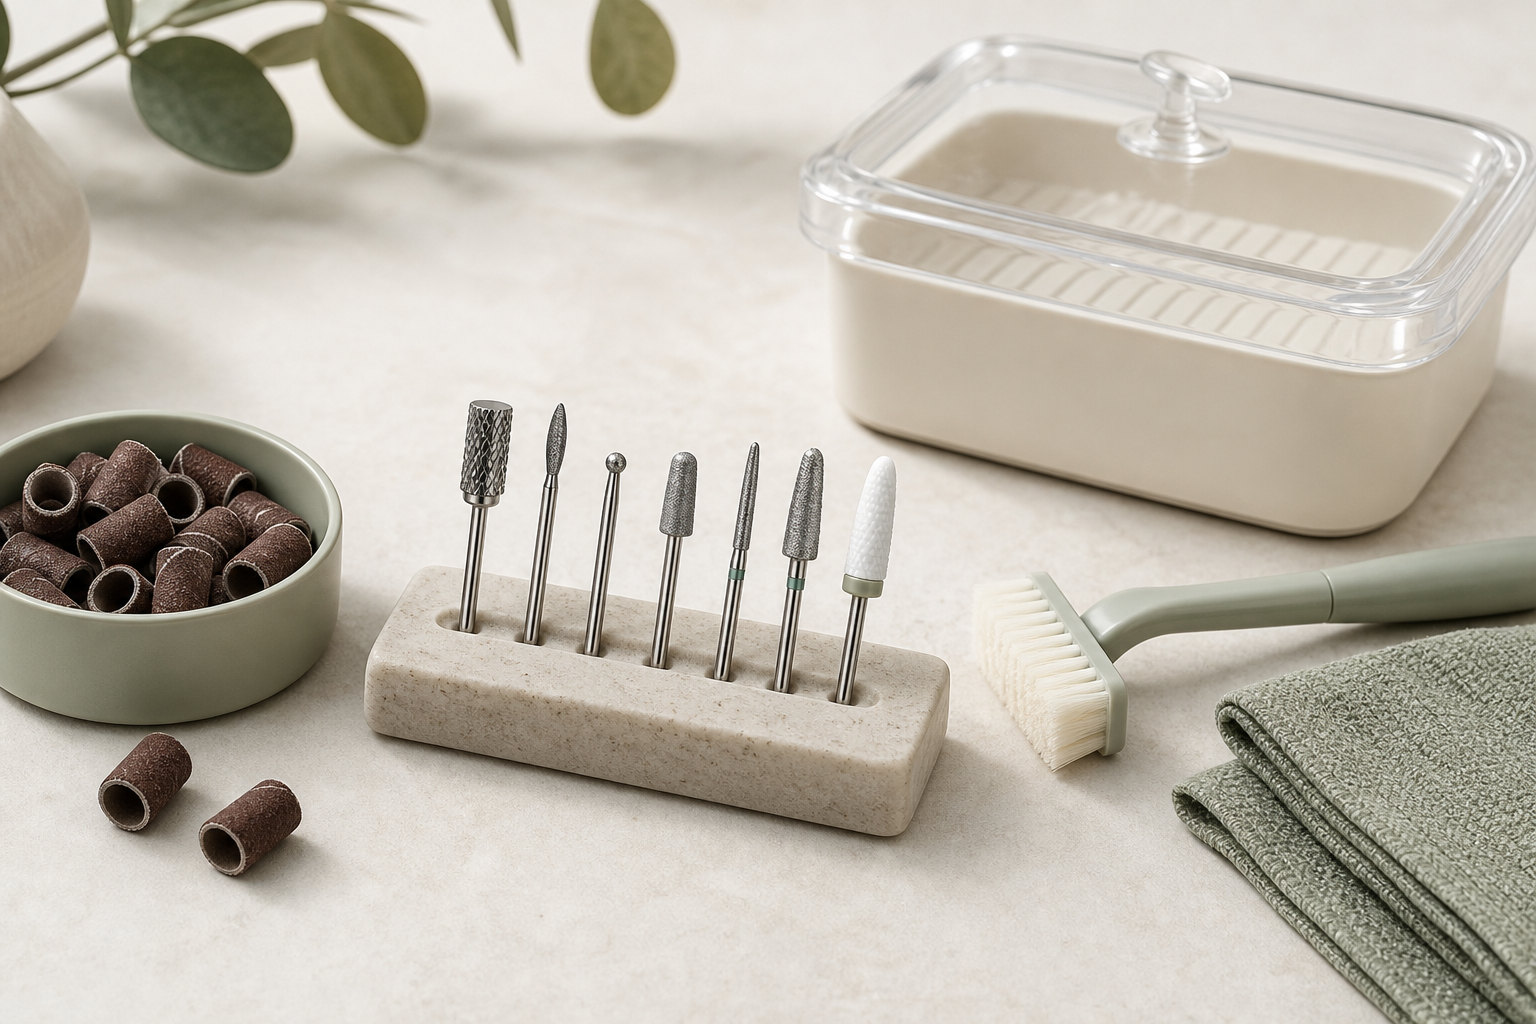
Nail drill bits do not become clean simply because they look free of product. Fine dust, residue, and handling contamination can remain in flutes, around the shank, on abrasive surfaces, and inside attachments. A dependable care routine separates visible-debris cleaning, disinfection, and sterilization into distinct decisions. It also starts with the instructions for the specific bit, attachment, handpiece, and treatment product rather than a generic online recipe.
This guide covers care after use. It does not declare that one process satisfies every salon, school, state board, local health department, brand, or workplace requirement. Where services are provided to others, consult the applicable local rules as well as the current instructions from the bit manufacturer and any disinfectant or sterilization-equipment manufacturer.
Cleaning, disinfection, and sterilization are not interchangeable
Tool-care language often gets blurred in everyday conversation. That can lead to a clean-looking bit being stored as though it has completed a more involved process. Use the words precisely, because each one describes a different stage or outcome.
- Cleaning
- Cleaning is the removal of visible debris, residue, dust, and surface soil. It is the necessary first step before any further treatment because debris can keep a later product or process from reaching all relevant surfaces. Cleaning alone is not the same as disinfection or sterilization.
- Disinfection
- Disinfection is a labeled process performed on a previously cleaned item. The disinfectant product label determines the intended use, preparation, compatible materials, required full contact time, and any rinse or drying directions. A quick dip, a wipe that dries too soon, or an unlabeled household liquid is not automatically the labeled process.
- Sterilization
- Sterilization involves a defined, validated process with equipment, loading, packaging, maintenance, and cycle instructions. A disinfectant label does not establish sterilization, and a container of liquid does not automatically create a sterilization process. Use sterilization equipment only when both the equipment documentation and the tool manufacturer's instructions support that use.
Words printed on a storage box, social-media shorthand, and product marketing do not replace these distinctions. If a rule, course, insurer, employer, or manufacturer specifies a process, follow that source rather than assuming that a broadly described sanitizer or cleaner meets the same purpose.
Start with the bit material and the manufacturer's instructions
There is no single liquid, brush, soak, machine, or storage method that is automatically right for every nail drill bit. Construction matters. A bit may be solid metal, diamond-coated, ceramic, plated, bonded, coated, or made with a combination of materials. The shank, cutting surface, abrasive layer, adhesive, coating, and any attached component can have different compatibility limits.
Before establishing a routine, check the bit packaging, instructions for use, official manufacturer support materials, and the label for the treatment product. Look for the item's intended reuse status, permitted cleaning method, material limitations, compatible reprocessing method, and whether the manufacturer identifies it as a personal-use or professional-use item. If clear information is unavailable, do not guess based on color, price, or the fact that another bit appears similar.
- Confirm whether the item is reusable, single-use, or intended for a limited category of use.
- Follow the bit manufacturer's material-compatibility instructions and the disinfectant manufacturer's directions together.
- Use an ultrasonic unit, liquid soak, brush, or sterilization device only when the relevant instructions permit it.
- Set aside an attachment when its material, reuse status, or compatible process cannot be confirmed.
For broader context on why construction affects care, see this nail drill bit materials guide. Selecting an attachment and maintaining it are related, but neither one should be based on a one-size-fits-all chemical or procedure.
Reusable versus disposable attachments
Reusability is not determined by whether an attachment looks intact after use. The manufacturer's stated intended use controls. Porous, absorbent, foam, fabric-like, or otherwise single-use components should not be treated as reusable merely because visible residue can be brushed away.
| Item category | Reuse decision | Care boundary | What to inspect |
|---|---|---|---|
| Solid reusable bit, such as a metal, diamond-coated, or ceramic style | Reusable only when the manufacturer identifies it as suitable for reprocessing. | Clean first, then use only the compatible labeled disinfection or sterilization process required for its intended setting. | Check the shank, working surface, coating, bonded areas, corrosion, and overall condition. |
| Mandrel | Its reuse status depends on the specific manufacturer and construction. | Do not confuse a reusable mandrel with a reusable sanding band. Process the mandrel only as its instructions allow. | Look for wear, corrosion, damage, or any condition that affects secure attachment seating. |
| Sanding band | Single-use porous item. | Discard after use. Do not wash, soak, disinfect, sterilize, or save it for another person or later appointment. | There is no reprocessing inspection that converts a used band into a clean reusable item. |
| Porous caps, buffers, foam, felt, or similar abrasive attachments | Follow the manufacturer, with single-use treatment where the item is identified as disposable. | Do not attempt to reprocess porous disposable attachments. | Discard used single-use items rather than storing them with reusable tools. |
A new sanding band belongs on a clean, compatible mandrel only when needed. Used bands belong in waste, not in a dirty-tool tray awaiting treatment. That boundary prevents a common mix-up: successfully cleaning a reusable metal holder does not make the porous accessory mounted on it reusable.
A practical workflow for reusable bits
This sequence is a framework, not a substitute for product instructions or local requirements. Adapt each step to the documentation for the particular bit and the treatment product being used. Keep the work area organized enough that an item never has to be guessed into the clean or dirty category.
- Set up distinct dirty and clean zones. Designate one clearly identified area or container for used bits and another for completed, dry tools. Keep unused bands and clean storage supplies away from the dirty zone. Do not handle a bit while the handpiece is operating, and remove or secure it only in the way the handpiece manufacturer directs.
- Sort before cleaning. Immediately discard used single-use sanding bands and other porous disposable attachments. Separate reusable bits from the disposable material. Do not place a used band into a container with reusable tools, and do not let a reusable mandrel stand in for the band itself in your sorting system.
- Remove visible debris first. Clean reusable items by the method and with the accessories the manufacturer permits. The goal is to remove residue from all accessible surfaces, including grooves, flutes, shanks, and areas where product collects. A surface that looks clean from one angle may still hold debris in its texture or recesses. Do not jump to a disinfectant or other process while visible soil remains.
- Inspect before the next stage. Under good light, look for rust, corrosion, pitting, cracking, bent shanks, worn or loosened abrasive material, damaged flutes, coating loss, residue that cannot be removed, or any other change from the item's intended condition. If the bit is damaged, questionable, or cannot be adequately cleaned, remove it from service rather than trying to compensate with a stronger process.
- Apply the appropriate labeled process. When a reusable bit is eligible for disinfection, follow the disinfectant label exactly, including any preparation directions, material limitations, and the full required contact time. The item must remain treated as the label requires for the entire stated contact period; a brief dip or partially wetted surface does not substitute for full contact. If a required process is sterilization, follow the complete compatible equipment and tool instructions rather than assuming disinfection is equivalent.
- Rinse only when the label directs it, then dry completely. Do not add a rinse because it seems customary, and do not skip one when the product instructions require it. After the final directed step, dry every surface fully before storage. Closing a damp bit into a pouch, case, or drawer can create preventable storage problems and makes later inspection harder.
- Move only completed items to covered clean storage. Once a reusable item has completed the applicable process, is fully dry, and passes inspection, transfer it with clean handling to a covered container or other protected clean-storage system. Do not return a processed bit to the dirty tray, a workstation covered with dust, or loose mixed storage.
If you need a refresher on matching attachments to their intended role, consult the nail drill bit guide. Tool choice does not change the care requirement: a reusable item needs a compatible process, and a single-use porous item needs disposal after use.
Storage, inspection, and personal-use boundaries
Storage is the final part of care, not an afterthought. A clean item can be recontaminated when it is left uncovered on a dusty surface, dropped back into a mixed drawer, or handled alongside used tools. Keep completed reusable bits dry and covered, with a system that keeps them physically separate from incoming used bits, disposable waste, and unprocessed attachments.
Inspect before each use as well as after cleaning. Do not install or use a bit with visible rust, pitting, corrosion, a bent shank, cracked ceramic, loose or missing abrasive material, damaged cutting surfaces, coating changes, or a fit problem. Cleaning does not repair damage. During any later use, painful heat, grabbing, pain, or loss of control means stop and reassess the tool, attachment, and setup. For general handling cautions, see the electric nail drill safety overview.
A personal-use bit should have one named user. Sharing a personal kit with a friend, family member, roommate, or client turns it into a multi-user situation; personal ownership is not a substitute for an appropriate reprocessing system. Never reuse sanding bands or other single-use porous items on the same person at a later time or on another person. If a tool was sold or labeled for personal use only, do not relabel it as professional equipment based on a home cleaning routine.
Where a UV sanitizer box fits
A UV sanitizer box should not be assumed to replace debris removal, a labeled disinfection process, or a required sterilization process. It does not make visible residue disappear, and a generic box label does not establish compatibility with every nail drill bit or satisfy another product's instructions. If a device manufacturer makes a specific claim for a particular use, review its complete documentation alongside the instructions for the item being treated and the requirements that apply to your setting. Do not use a UV box as a shortcut around cleaning, full labeled contact time, inspection, drying, or covered storage.
Common tool-care mistakes to avoid
- Calling debris removal disinfection. Brushing off dust is important, but it is only the cleaning stage. It does not automatically complete a labeled disinfection or sterilization process.
- Using one liquid for every material. Similar-looking bits can have different coatings, bonds, and material limits. Confirm compatibility instead of assuming that every metal, ceramic, or coated attachment tolerates the same treatment.
- Cutting contact time short. If a disinfectant label specifies a contact time, maintain the required conditions for the entire stated period. Do not invent a shorter timing rule or treat a quick dip as equivalent.
- Rinsing from habit. Some labels direct rinsing and others may not. Follow the label instead of adding a universal rinse step.
- Putting damp tools away. Drying protects the clean-storage system and makes it easier to identify corrosion, remaining residue, or damage before the next use.
- Saving used sanding bands. A used porous disposable attachment is waste, not a candidate for a cleaning experiment or a later personal-use session.
- Mixing completed and incoming tools. A single tray for everything erases the distinction between dirty, in-process, and clean items. Separate zones make the workflow visible and repeatable.
Frequently asked questions
Does a visibly clean bit count as disinfected?
No. Visible cleanliness means debris has been removed to the extent permitted by the cleaning method. Disinfection is a separate labeled step, and sterilization is a different process again. Avoid using clean, disinfected, and sterile as interchangeable descriptions.
Can I choose a cleaning or disinfecting liquid based on online advice?
Not safely as a universal rule. The relevant information is the bit manufacturer's compatibility guidance and the treatment product's current label. If the two sources do not support the same process, do not improvise a substitute. Contact the manufacturer or choose an item with clear care documentation.
When should a reusable bit be discarded?
Discard or permanently remove it from service when it has rust, corrosion, pitting, cracks, a bent shank, loose abrasive material, damaged cutting surfaces, coating loss that concerns the manufacturer, residue that cannot be removed, or any condition that prevents proper seating or confident inspection. A damaged bit is not restored by extra cleaning.
Can I store a personal bit with my clean professional tools?
Only if it has completed the same appropriate process for the setting, is fully dry, and can be clearly identified without confusing the workflow. In practice, a separately marked personal kit is often easier to manage. Never store used disposable bands with completed reusable tools.
The essential takeaway
Good nail drill bit care is a controlled sequence: identify the item, discard single-use porous attachments, remove visible debris from eligible reusable tools, inspect, follow the exact compatible labeled process, rinse only if directed, dry fully, and store completed tools covered in a clean zone. That structure is more reliable than any universal soak, box, or shortcut.