The number on a nail drill is not a dare. RPM tells you how fast the bit rotates; it does not tell you how hard to press, which bit belongs on the product, or when you are close enough to the natural nail to stop. That distinction is what separates a controlled removal from the hot, skippy mess people blame on the machine.
Safety note: This guide is educational, not a substitute for hands-on e-file training. Stop for pain, heat, thinning, redness, or loss of control. Never use a product-removal bit directly on bare natural nail.
The RPM chart worth saving
| Task | Conservative orientation band | Typical tool choice | The real control point |
|---|---|---|---|
| Practice and hand control | Lowest stable setting | Practice tip with a familiar fine bit | Movement, balance, and direction before speed |
| Delicate prep / nonliving cuticle detail | About 3,000–8,000 RPM | Fine diamond bit chosen for the task | Light touch; never dig into living skin |
| Surface refining | About 6,000–12,000 RPM | Fine sanding band or appropriate fine bit | Know whether you are touching product or natural nail |
| Gel-polish reduction | About 8,000–15,000 RPM | Suitable fine/medium removal bit | Remove color/topcoat, then slow down or soak |
| Builder gel / acrylic debulking | About 15,000–25,000 RPM | Appropriate carbide or ceramic removal bit | Experienced control, constant motion, product left as a safety layer |
Ranges synthesize commonly published manufacturer and nail-education guidance. Always follow the instructions for your drill and bit.
Higher on the chart means a faster working band—not “better,” and not safer.
RPM is speed. Torque is the part people feel.
Two drills can advertise the same 25,000-RPM maximum and behave nothing alike. Torque is the rotational force that helps a bit keep moving when it meets resistance. A machine with weak torque may bog down, which tempts the user to push harder. That extra pressure raises friction, makes the bit grab, and erases the control a lower speed was supposed to provide.
This is why shopping by maximum RPM alone is a dead end. A smooth low-speed range, a handpiece that does not chatter, secure 3/32-inch bit locking, and predictable controls are more useful than a huge number printed on a listing. Our cordless nail drill comparison weights control and usability more heavily than headline speed for exactly this reason.
Why “start low” is only half the advice
Starting low gives you time to understand how a bit behaves, but painfully slow RPM plus heavy pressure is not a safe technique. When a bit moves too slowly for the material, it can catch and skip. The fix is not automatically more speed. First check the bit, its grit, its direction, whether it is dull, and whether your hand is trying to force the cut.
A useful working speed feels stable: the bit removes the intended material with a light touch and without bouncing. Your movement stays deliberate. You can lift away instantly. If you are bracing your whole arm to hold the drill down, something is wrong.
Natural nail, gel polish, builder gel, and acrylic are different jobs
Natural nail and prep
The margin for error is smallest on natural nail. The goal is never to make the plate thin, chalky, or uniformly “matte” through aggressive filing. Prep should target only what the system requires. A fine bit at a conservative speed can still cause damage if it sits in one place or is angled into the plate.
Gel polish
For soak-off gel, the e-file can break the topcoat and reduce color so remover can work efficiently. Beginners do not need to chase every trace of base coat with the drill. As the color becomes translucent and the natural nail becomes easier to see, pressure and speed should come down—or the drill should leave the process entirely.
Builder and hard gel
Structured product creates more bulk, but the apex and sidewalls are not permission to park a coarse bit. Remove the majority in broad controlled passes, reassess the architecture, and leave a thin safety layer when you are not sure where product ends.
Acrylic and dip
Acrylic and dip can require efficient reduction before soaking or rebalancing. That is where higher working bands and product-removal bits make sense for trained hands. Heat is still feedback. Speed does not cancel friction.
Bit choice can change the answer completely
A fine diamond flame and a coarse carbide barrel should not share one universal RPM instruction. Diamond bits abrade; carbide flutes cut; ceramic removal bits can also move enhancement product efficiently. Shape changes access and contact area. Grit changes aggression. A worn bit encourages pressure.
Before choosing a speed, identify four things: the material under the bit, the material the bit is designed to remove, the direction in which it cuts, and how close you are to natural nail or skin. If any answer is unclear, stop and identify the tool rather than experimenting on a finger.
Direction matters—especially for left-handed users
Forward and reverse are not decorative buttons. Rotation should work with your hand movement so the bit does not climb, grab, or fling itself across the surface. When you change hands or move to the opposite side of a nail, your working direction may need to change too.
Turn the drill off before changing direction or swapping bits unless the manufacturer explicitly instructs otherwise. Make sure the bit is fully seated and locked. A bent bit or loose collet can create vibration that no RPM adjustment will solve.
Heat is not a toughness test
A heat spike means friction is concentrating faster than it can dissipate. Common causes include pressure, a dull or inappropriate bit, too much contact area, repeated passes over the same spot, or lingering. The correct response is to lift off immediately—not ask the client or yourself to tolerate it.
| What you notice | Likely contributors | What to do |
|---|---|---|
| Bit skips or grabs | Wrong direction, low speed under load, poor angle, loose/damaged bit | Stop; check lock, direction, bit condition, and technique |
| Sudden heat | Pressure, dwelling, dull bit, repeated contact | Lift off immediately and reassess |
| White/chalky or flexible nail | Natural plate may be over-filed | Stop e-filing; do not “smooth out” the damage |
| Motor stalls | Excess pressure, weak torque, inappropriate bit | Reduce pressure; choose the right bit/tool rather than forcing it |
| Unusual vibration | Bit not seated, bent shaft, worn handpiece | Power down and inspect before continuing |
A beginner-safe practice sequence
- Learn the controls with no bit installed and the machine off.
- Install and lock a clearly identified bit according to the manual.
- Practice forward/reverse and hand movement on a plastic tip.
- Draw pencil lines on enhancement product and remove the marks evenly without gouging.
- Work at the lowest stable speed that lets the bit glide with light pressure.
- Practice lifting away before changing angle or direction.
- Do not move to cuticle work simply because bulk removal feels comfortable; it is a separate skill.
When the dial says 1–10 instead of RPM
Many inexpensive drills use an uncalibrated wheel or a row of bars rather than a numeric RPM display. Do not assume setting five equals half of the advertised maximum. Motor response may not be linear, and load changes what you feel at the bit. A model that claims 30,000 RPM can also behave differently at “3” than another 30K drill at the same-looking mark.
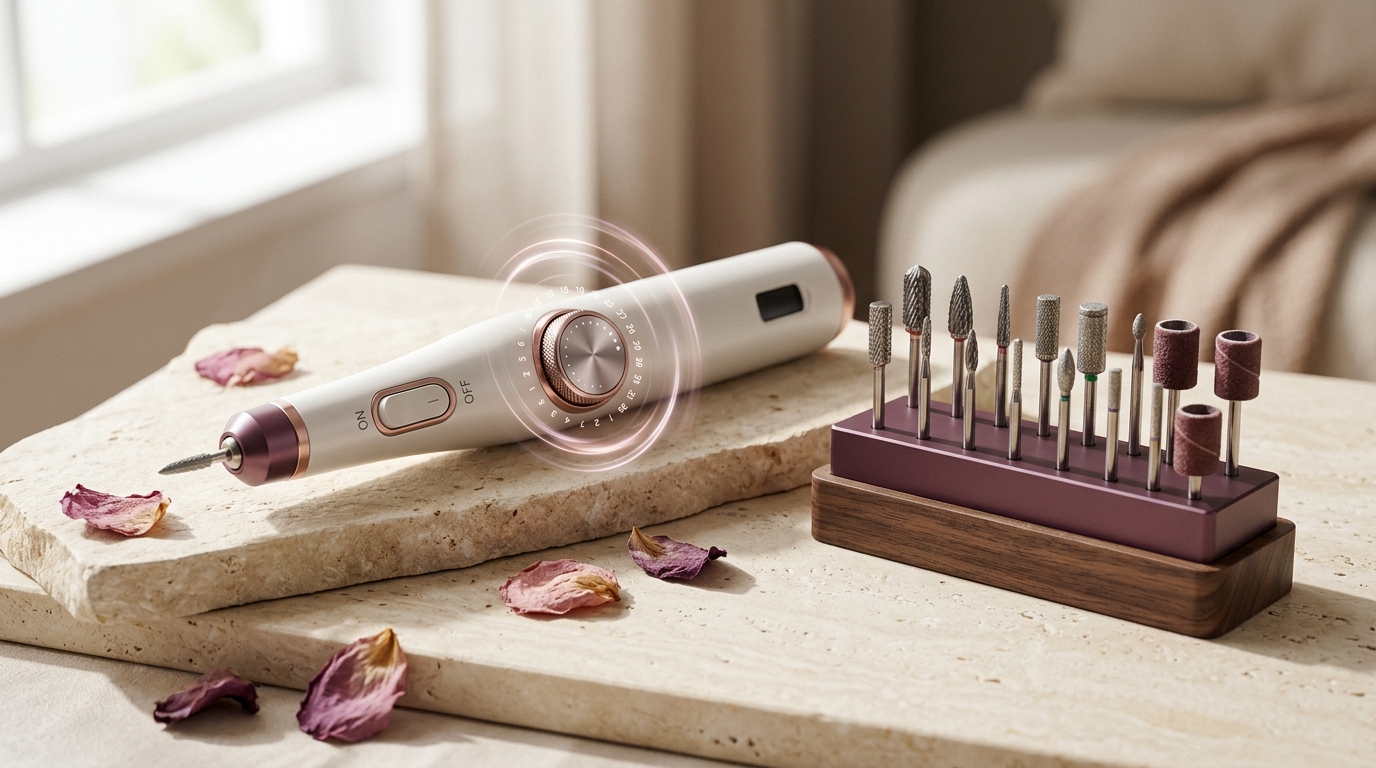
Treat those controls as relative positions. Begin at the lowest stable setting on a practice tip, listen to the motor, and observe whether the bit glides or catches. Increase in small steps only when the bit and task are appropriate. Once you find a useful band, note the dial position for that exact drill and bit combination. It is a personal reference point, not a transferable formula.
Your supporting hand controls more than your speed hand
A steady e-file service uses two anchored hands. The hand holding the drill needs a comfortable grip close enough to the working end for precision. The other hand stabilizes the finger and gently controls the surrounding skin where appropriate. Floating both hands in the air magnifies every small movement.
Reposition the finger instead of twisting your wrist into an awkward angle. Keep the bit’s working surface aligned with the product, and use short, intentional passes. If you cannot see the contact point clearly, stop and change the light or position. Working faster does not compensate for poor visibility.
Long hair, loose sleeves, jewelry, and the drill cord—if present—should stay clear of the rotating bit. Safety is not limited to the nail plate. A spinning tool can catch anything that enters its path.
Dust changes the room, not just the manicure
E-filing turns cured product into airborne and settled dust. The amount depends on the material, removal method, bit, and dust collection. At minimum, work in a well-ventilated, easy-to-clean area and wipe surfaces after the service. Frequent users should consider source-capture dust extraction rather than relying on a fan that simply redistributes particles.
Do not blow dust from the nail with your mouth. Use an appropriate brush and clean it between uses. Follow the product manufacturer’s safety information for eye or respiratory protection, especially if you work repeatedly or have sensitivities. An e-file that removes product quickly can also produce dust quickly; speed and cleanup belong in the same decision.
Times we would put the drill down
- The nail or surrounding skin is painful, inflamed, injured, or appears infected. A cosmetic tool is not a diagnostic or treatment device.
- You cannot identify the product. Removal strategy depends on whether material is soak-off gel, hard gel, acrylic, dip, or something else.
- You cannot identify the bit or grit. Guessing is not a safe way to learn cutting behavior.
- The bit is bent, loose, visibly damaged, or vibrating. Power down and replace or service the equipment.
- You have lost visibility. Dust, poor light, and product color can hide the transition to natural nail.
- The person feels heat or pain. Stop immediately; do not finish the pass.
What RPM should a home nail drill have?
A 20,000–25,000-RPM ceiling is enough on paper for many DIY gel tasks. A 30,000–35,000-RPM model offers capacity for frequent enhancement work, but owning the extra speed does not mean using it. Look for controllability, forward/reverse, secure standard bits, and clear instructions before chasing a 50K headline.
Frequently asked questions
What RPM should I use to remove gel polish?
Many education guides place gel reduction roughly in the 8,000–15,000-RPM area, but start conservatively and adjust for the bit, drill torque, product thickness, and your control. Reduce the color/topcoat and stop before bare natural nail.
Can I use a nail drill on natural nails?
Only with an appropriate fine bit, conservative technique, and a clear reason. The natural plate is easy to thin and cannot be restored by filing more evenly. Manual prep is often the more forgiving choice for beginners.
Why does my nail drill get hot?
The handpiece motor can warm during use, while heat felt at the nail usually comes from friction. Pressure, dwelling, dull bits, and repeating one spot are common causes. Stop immediately when heat is felt.
Is 35,000 RPM too much for a beginner?
The maximum capacity is not the required setting. A beginner can own a 35K drill but should learn at controlled lower speeds on practice tips. Usability and torque matter more than the maximum number.
Should I remove all base coat with an e-file?
Not while learning. Leaving a thin layer is more conservative than trying to expose perfectly bare nail with a rotating bit. Soak compatible products or refine cautiously according to the service.
The bottom line
Use RPM as a range-finder, not an autopilot setting. Start with the task and material, choose the right bit, make sure direction is working with you, and find a stable speed that cuts with light pressure. The moment heat, grabbing, pain, or uncertainty enters the manicure, speed stops being the question. Control is.