When gel polish peels, the most useful clue is not simply that it lifted—it is where the lift started, what the surface looked like beforehand, and whether the issue is happening across every nail or only one. A manicure that releases in one flexible sheet points you toward different checks than a free-edge chip, a lifted cuticle rim, or color that wrinkles during cure.
Think of peeling as a bond-and-structure problem to narrow down, not a reason to immediately add more primer, roughen the nail harder, or switch every product at once. Start with the pattern, make one controlled correction, and use the gel system according to its product instructions. Peeling patterns are clues rather than proof: more than one factor can be involved on the same hand.
Read the peeling pattern before changing your routine
The first visible opening is often more informative than the final result. Once a lifted edge catches on hair, fabric, water, or daily friction, the rest of the coating can release quickly. Before removing it, take a close look at the starting point: the cuticle line, sidewall, free edge, center, or a single stressed nail.
| Symptom or pattern | Possible contributors | Next check |
|---|---|---|
| The coating releases in a broad sheet | Incomplete nail-plate prep, residue near the base layer, an overly smooth surface, or a base coat that is not suited to the rest of the system | Review prep and return to a maker-supported base, color, top, and lamp combination |
| Peeling begins at the free edge | An exposed or chipped edge, edge placement that does not match product directions, nail flex, or repeated impact at the tip | Inspect the nail shape and edge coverage; cap only where the product directions call for it |
| Lift starts at the cuticle or sidewall | Gel touched skin, flooding, adhered cuticle-area residue, lotion or oil residue, or bulky application close to the perimeter | Improve perimeter prep, leave a clean margin, and remove any skin contact before curing |
| Only one nail repeatedly lifts | Local nail shape, a crack or split in the coating, a finger that gets more impact, uneven lamp exposure, or a missed application step | Compare that nail with its neighbors rather than changing the routine for every nail |
| Peeling becomes obvious after water exposure or a knock | A small pre-existing gap that caught moisture or friction, or movement in a flexible natural nail after impact | Look for the original lifted edge and avoid treating a damaged seal as a spot that can simply be painted over |
| The gel wrinkles, dents, shifts, or feels unusually soft | Coats applied too heavily, incompatible curing equipment, poor hand placement, or product that needs a different cure process | Remove the affected material by its maker’s directions and check layer thickness, lamp compatibility, and cure instructions |
When the gel comes off in a whole sheet
A broad sheet of gel can look as though the entire manicure failed at once, but it often began with one small area where the base layer did not establish a reliable hold. Check the underside of the released piece and the natural nail beneath it. If the release seems to have happened close to the natural nail rather than between color layers, start with the nail plate and base coat rather than adding another top coat.
Common checkpoints include residue from hand cream, cuticle oil, cleanser, dust, or water; adhered tissue sitting on the nail plate near the cuticle; and a base coat that is too thick to sit evenly. Avoid solving this pattern by aggressively filing the natural nail. The goal of prep is a clean, even surface with the shine gently reduced if the system calls for it—not deep grooves or a thinned nail plate.
Also check whether the base, color, and top were intended to work together. A mix of products may have different prep, cure, flexibility, and removal requirements. For troubleshooting, simplify the variables by using the base coat, colors, top coat, and lamp combination the product maker supports.
When peeling starts at the free edge
Free-edge peeling usually starts as a fine line at the tip, a small chip, or a lifted corner that catches. The tip takes repeated contact from typing, opening packages, washing hair, and ordinary knocks, so even a small break in the edge can spread backward through the coating. Nail length and shape matter here too: longer tips create more leverage, while sharp corners can catch more easily than a smoothly refined edge.
Before polishing, refine rough edges and remove filing dust. Then follow the product directions on free-edge placement. Some systems specifically instruct you to lightly cap the edge with designated layers; others may have different application guidance. A cap should not become a thick rounded shelf at the tip, which can itself catch or feel bulky. On very short nails, do not chase edge coverage onto the skin beneath the nail. Keeping uncured gel off skin matters more than forcing a wrap where there is no accessible edge.
If the same free-edge lift returns despite neat application, consider natural-nail movement. A flexible nail and a rigid-looking coating can move differently under pressure, making the tip a predictable stress point.
When lift begins at the cuticle line or sidewalls
A lifted rim near the cuticle or sidewall is often an application-perimeter issue. Gel that floods into the cuticle line or touches a sidewall may cure as a tiny raised ledge instead of a clean, separate polish line. That ledge can snag, and it is not a dependable bond to skin. Keep a narrow, intentional margin between gel and skin rather than attempting to paint all the way into every corner.
Prep matters most in this zone. Gently push back the cuticle area and remove residue that is adhered to the nail plate, especially along the curve at the base and the sidewalls. This does not require cutting living skin or scraping until the nail feels sore. Use the least aggressive tool and pressure needed to clear the nail plate, then remove dust and use any cleanser, dehydrator, or primer only as directed for that system.
Work with enough product control that you can correct the perimeter before curing. If uncured gel reaches skin, remove that contact promptly before cure using the product maker’s cleanup directions. Do not cure gel on skin or treat a flooded edge as something to file away later.
When only one nail keeps peeling
One recurring problem nail does not necessarily mean your entire routine is wrong. Compare its shape, length, curvature, and daily use with the nails that remain intact. A thumb may be placed differently in a lamp; an index finger may take more direct impact; one nail may have a deeper sidewall curve that makes flooding more likely. It is also possible to miss a tiny edge during prep or cure one finger at an angle.
Use that comparison to make a specific adjustment. Shorten or smooth a catching corner, keep the layer especially thin on a highly curved nail, confirm the finger sits fully under the lamp, and inspect the perimeter before each cure. Avoid escalating to heavy filing or multiple extra base layers on that one nail. More material does not automatically create a better bond, and unnecessary bulk can change how the nail flexes.
When peeling follows water exposure or an impact
Water exposure or an impact may reveal a weak point, but they do not automatically identify the original cause. If a tip already has a microscopic lifted edge, wet work, bathing, cleaning, or repeated hand washing can make that opening easier to notice. Likewise, a knock can chip an otherwise neat free edge and give the coating a place to catch.
Look for the original opening instead of applying gel over the damaged area. A patch over lifting material can leave the old gap underneath and create another edge to catch. For tasks involving prolonged water or cleaning products, gloves can reduce direct exposure and friction. After an impact that leaves a crack, lifted area, or sharp edge, remove loose product according to the system’s instructions rather than pulling it away.
When gel wrinkles, feels soft, or seems to shift
Wrinkling, denting, shrink-back, or unexpected softness calls for a cure-process check before a prep overhaul. A surface can appear set while the layer beneath needs the correct lamp, coat thickness, placement, or cure schedule for that formula. Opaque shades, effect gels, structured products, and top coats can have instructions that differ from a sheer color.
First, distinguish a normal inhibition layer from a failed finish. Some gel colors are designed to retain a tacky layer before the next coat, while many no-wipe top coats are intended to finish glossy after their specified cure. Follow the individual product directions rather than judging every formula by the same feel.
Heavy application is a frequent checkpoint. Apply gel in thin, even coats, using additional thin layers for coverage instead of trying to make one coat opaque. Our guide to applying thin gel polish coats explains how to control the brush, perimeter, and self-leveling without flooding. If a layer wrinkles or remains questionable, do not bury it under more color or top coat. Remove it using the maker’s process and start again with a thinner application.
Reset the application routine without overfiling
Prepare for cleanliness, not damage
Start with dry, clean hands and avoid applying hand cream or cuticle oil immediately before the manicure. Shape the free edge, gently address adhered cuticle-area residue, and lightly remove shine only if the product directions require it. A fine buffer used with minimal pressure is different from aggressively etching the nail. Stop as soon as the surface is evenly prepared; repeated filing can leave nails thinner and more flexible.
Remove dust thoroughly, then use the system’s recommended prep liquids in the specified order. Do not assume a stronger cleanser, more primer, or a harsher filing pattern is a universal upgrade. These products and steps are formulated differently, and adding unnecessary layers can introduce another compatibility variable.
Keep every layer controlled
Use a sparing base coat, thin color coats, and a smooth top coat that does not pool at the cuticle, sidewalls, or tip. Thin does not mean streaky and dry-looking; it means even enough to cure as instructed without a thick ridge. Wipe excess from the brush before the nail, place the brush a little away from the skin, and guide the gel toward the perimeter with a light hand.
Check each nail from the side before curing. A side view makes flooding and bulky tips easier to spot. If the system instructs free-edge capping, use a light, deliberate pass where the edge is accessible. Do not substitute a thick edge roll for precise placement.
Match the gel to the lamp and use the lamp deliberately
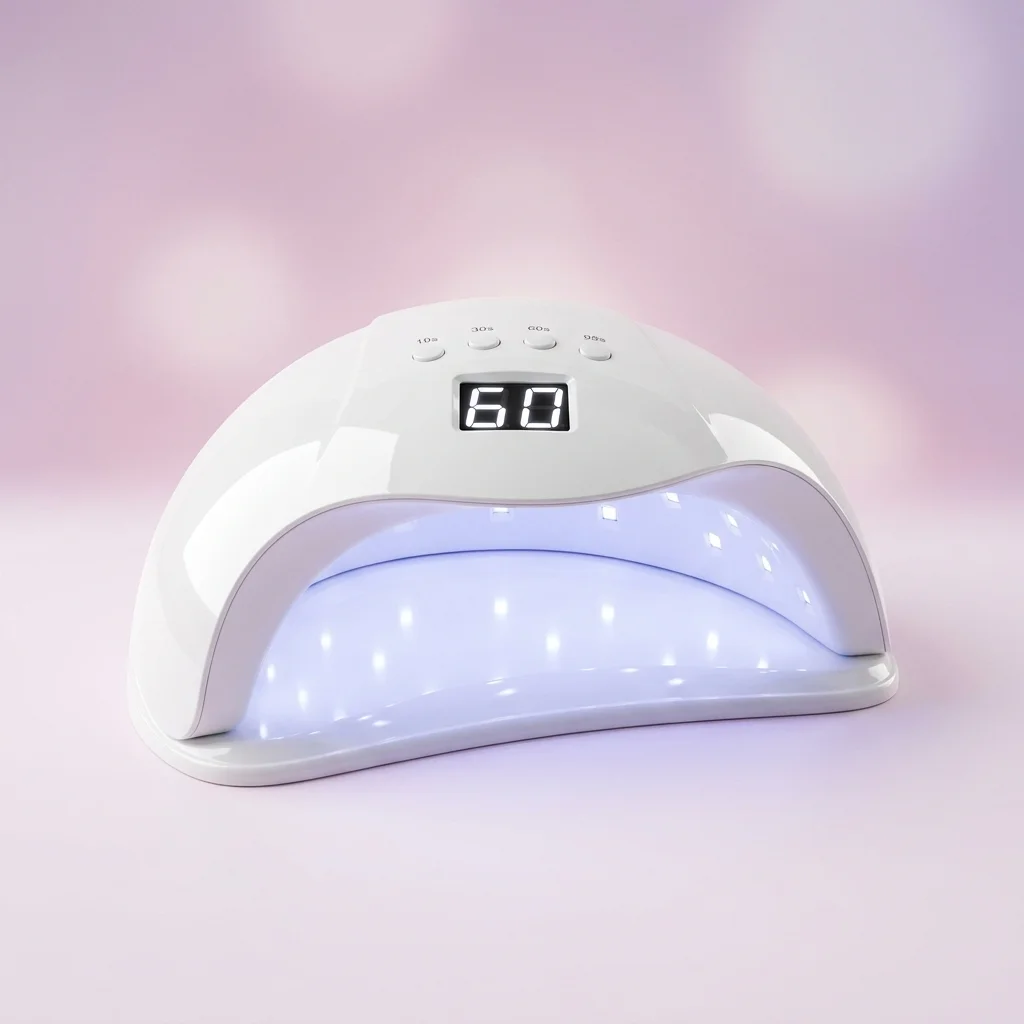
Use the lamp and cure time specified by the gel maker whenever possible. A lamp’s wattage label, a generic “UV/LED” description, or its ability to cure another brand does not establish that it is compatible with every gel formula. The base, color, top, builder, and effect products may also have different instructions within one range.
Place fingers flat and fully inside the lamp so the intended surfaces receive exposure. Thumbs often sit at a different angle from the other fingers, so check the lamp maker’s guidance on thumb placement or separate curing. Keep the lamp clean, use the prescribed timer, and do not assume that adding arbitrary extra time corrects a mismatched formula. For a fuller walkthrough, see our gel polish curing guide.
Check the product set and product condition
If peeling began after combining a new base, color, top coat, lamp, or structured overlay, return to a known maker-supported combination before changing prep again. Base, color, and top products can differ in flexibility, cure requirements, and intended adhesion, even when they look interchangeable in the bottle.
Check expiration or period-after-opening information, storage guidance, and the condition of each bottle. Set aside gel that has changed unusually in texture, odor, color, or consistency, or that will not mix as directed by its maker. Keep bottle necks clean and caps closed during application so product is not exposed to unnecessary light or contamination. Do not attempt to revive questionable gel with an unapproved liquid.
Account for flexible natural nails
Natural nails vary in thickness, curvature, and flexibility. If a nail bends noticeably during normal use, a coating may be more likely to crack at a tip or sidewall as the nail moves. This is not a reason to file the natural nail thinner. It is a reason to reduce length if needed, keep the shape smooth, and choose only compatible support products that the manufacturer indicates can be used with the system.
A structured overlay or builder product is not an automatic answer for every flexible nail. It introduces its own application and cure instructions, and too much material can add bulk rather than useful support. If you use one, follow its specific placement, cure, and removal directions instead of treating it like an extra-thick base coat.
Remove lifting gel instead of peeling it away
A lifting edge can be tempting to pick, but peeling gel off can take surface layers from the natural nail with it. Lift is not a removal method. Secure or smooth a catching edge only if that can be done without pulling on the coating, then remove the manicure according to the product maker’s directions.
Not every gel product is removed the same way. Some systems are designed to soak off, while others are intended to be filed down or professionally removed. Follow the label and the brand’s removal guidance rather than using one solvent or one technique for every formula. If the natural nail feels tender, looks unusually thinned, or has breaks that make application uncomfortable, pause enhancements rather than covering the area with more gel.
When to stop troubleshooting and stop the application
Stop the application or curing process if you feel painful or significant heat, burning, itching, swelling, or irritation. Do not push through discomfort to finish a set. Keep uncured gel off skin, remove any skin contact promptly before cure using product-maker cleanup directions, and avoid applying more product over irritated skin.
If symptoms are significant, persistent, or spreading, discontinue the products and seek advice from an appropriate health professional. A “HEMA-free” label describes a formula choice; it is not a guarantee that a person will have no reaction. Do not use a home skin patch test as a shortcut for deciding whether a gel is suitable.
It is also reasonable to pause if repeated peeling is leading to increasingly aggressive prep or frequent removal. A reset with fewer variables is more useful than repeatedly buffing, priming, layering, and peeling off the result. If the pattern remains unresolved, a qualified nail professional can assess application technique and product compatibility without guessing from one symptom alone.
Quick troubleshooting questions
Should I add more primer if my gel peels in sheets?
Not as a first response. Check for residue, adhered cuticle-area material, over-thick base application, and system compatibility first. Use primer only when the product maker includes or recommends it for that system.
Can I apply fresh gel over a small lifted spot?
A small surface chip may be repairable only if there is no lifting around it and the system permits repair. If an edge has separated from the nail, remove the loose material by the maker’s directions rather than sealing the gap under new gel.
Does a tacky gel color mean it did not cure?
Not necessarily. Many gel colors retain an inhibition layer designed to sit beneath the next coat. Check the product instructions, especially before comparing a color’s feel with a no-wipe top coat.
The practical takeaway
Whole-sheet peeling, free-edge lift, cuticle flooding, one-nail failure, impact-related chips, and wrinkling each point to a different set of checks. Use the pattern to narrow the cause, prep gently, apply controlled thin coats, follow edge and cure directions, keep uncured gel off skin, and remove lifting material rather than pulling it away.