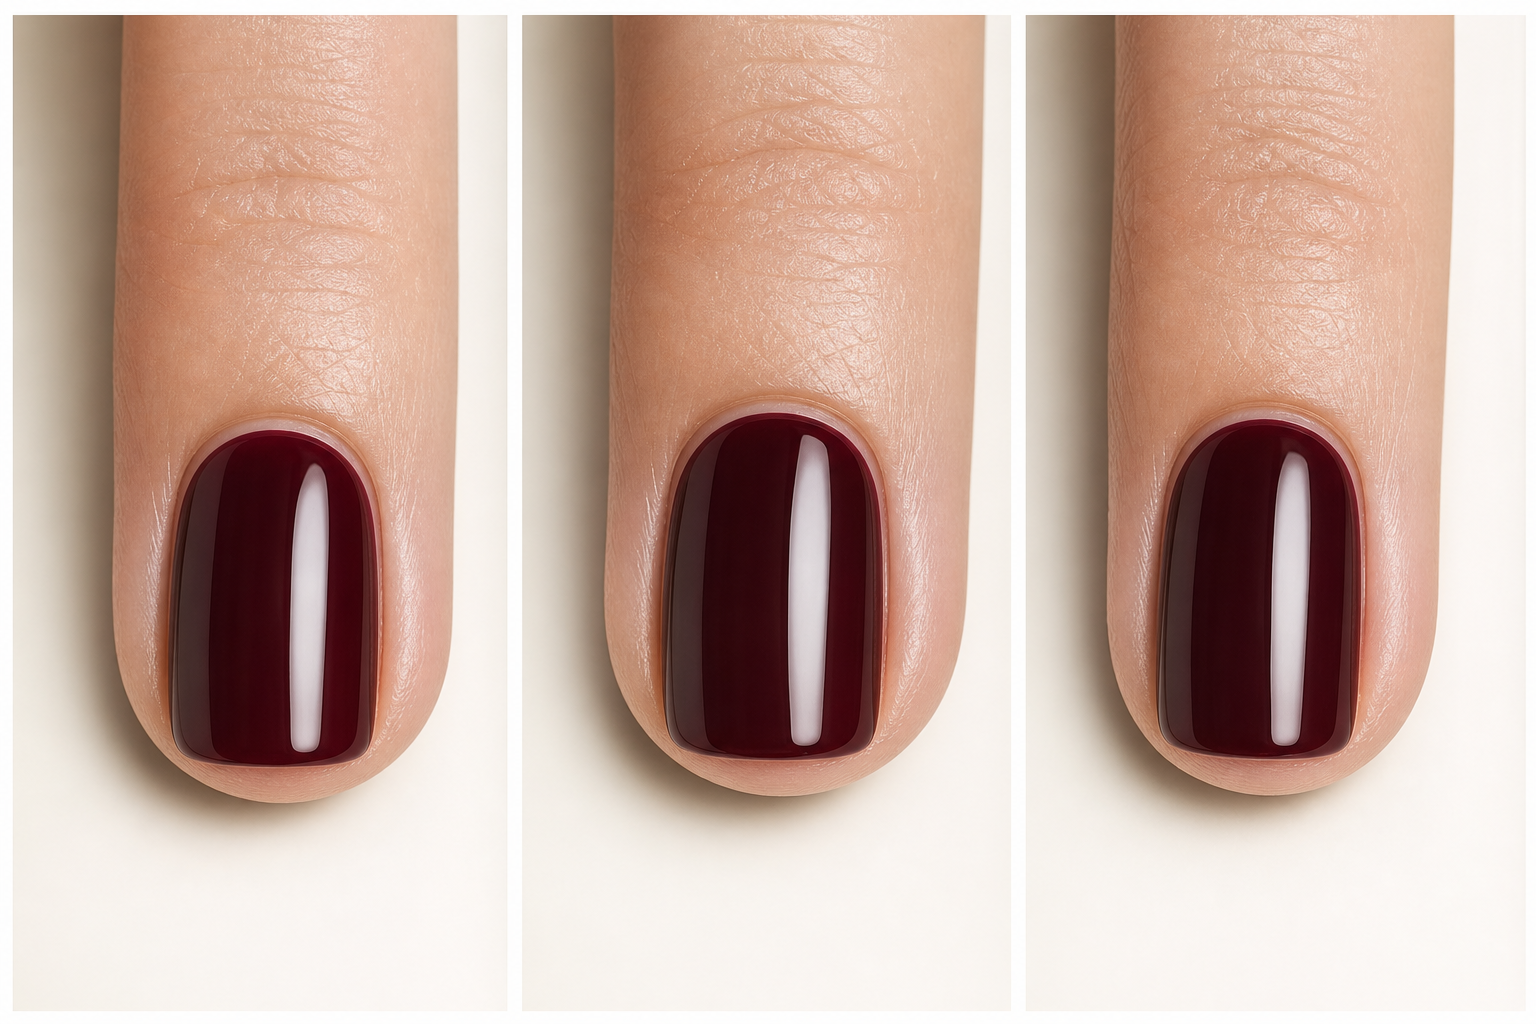
On a short nail, the distance between the sidewalls can do more visual work than a complicated motif. Move the colored shape a hair inward, leave narrow natural-looking tracks at the edges, and the eye follows a more vertical line. That is the premise of the Italian manicure: not added length or an extension, but a change in the proportions the polish presents.
What an Italian manicure actually means
Italian manicure is a term commonly used in nail references for color placed slightly inside the lateral edges of the nail. The name should not be treated as proof of where the technique originated. What matters is the geometry: instead of covering the nail plate from sidewall to sidewall, the colored silhouette is narrowed. It begins just inside each edge, travels toward the free edge in a continuous column, and can end in a French tip or remain a full-color manicure.
The sidewalls are the left and right boundaries of the nail plate, not the skin beside it. In this look, the visible margins sit on the nail itself and follow its natural contour. A clear base coat and clear top coat can still cover the entire nail; when the margins are described as unpainted, that means unpainted with color. The goal is a deliberate channel of visible nail, not a missed stripe or polish that has stopped short of the edge by accident.
Why the placement can change the visual read
A colored shape that is a little narrower than the nail creates a frame of negative space on either side. That framing can make a short nail appear more elongated and less broad, particularly when the color travels upward cleanly and the side margins have similar visual weight. It does not alter the length of the nail plate, make the free edge longer, or change the underlying nail-bed shape. Think of it as a styling adjustment: the polish directs attention upward instead of emphasizing the full width of the nail.
Who may like it—and when to leave it alone
This technique may appeal if you keep your nails short, prefer a subtle amount of exposed nail, or find that edge-to-edge opaque color makes your nails feel visually wide. It is also useful for someone who likes a micro French but wants the tip to feel less horizontal. The effect can be quiet in a sheer neutral or more graphic in a dark crème, depending on the contrast between polish and natural nail.
It is not a requirement for short nails, and it is not the right answer for every design. Skip it if you love the full, saturated look of color reaching every edge, want a broad graphic French tip, or dislike any visible nail at the sides. Very narrow nail plates can look overly pinched with pronounced margins. If your nails are currently different lengths, heavily peeling, or have irregular side contours, evening out the shape first usually gives a cleaner starting point than trying to solve everything with polish placement.
| Nail shape | Color or finish | Placement adjustment | Visual effect |
|---|---|---|---|
| Round | Sheer rose or nude gloss | Let the colored edge follow the natural curve; keep a micro tip high. | Supports the rounded silhouette without making it feel boxed in. |
| Squoval | Medium-tone crème | Keep the sides mostly vertical, then ease the color inward at the corners. | Softens a block-like read while retaining a squarer finish. |
| Short almond | Nude jelly or soft pearl | Allow the colored shape to taper gradually; avoid a sharp inner point. | Echoes the existing taper rather than creating a second pointed shape. |
| Very short with little free edge | Sheer tint or full color | Use the smallest visible margins and consider skipping a French tip. | Keeps the focus vertical without a broad horizontal cutoff. |
| Wider nail plate | Dark crème or restrained chrome | Use narrow, carefully matched margins and inspect them before top coat. | Creates a more graphic narrowing effect; unevenness will show more readily. |
What to say at the salon
Names vary between salons, so describe the placement instead of relying on the trend label alone. A clear request is: I’d like an Italian manicure on short nails. Please place the colored base just inside both sidewalls, leaving a very narrow, balanced margin of nail visible on each side. Keep it subtle, not like wide negative-space stripes. If we add French tips, make them fine and set them high.
Bring a reference photo if you have one, especially for an opaque or dark shade. Before color is finalized, ask to look at the hand from a normal viewing distance rather than only in close-up. A margin that seems tiny in a macro shot can look much stronger in real life. If one nail is naturally broader, more curved, or growing out from a break, the technician may need to adjust the colored shape slightly so the margins look balanced across the hand rather than mechanically identical.
Doing the sidewall technique with standard polish
Regular lacquer is a practical way to test the look because you can keep the design simple and change colors without committing to a gel system. The limitation is control: wet lacquer levels as you work, and a highly opaque shade can make a wobbly side boundary obvious. A sheer polish, jelly formula, or medium-depth color is usually more forgiving than black, bright white, or a dense metallic for a first attempt.
- File each nail into its intended shape before applying color. Matching the outline matters more than chasing extra length.
- Apply a clear base coat according to its directions. This can cover the full nail plate without affecting the colored-margin effect.
- For the first color coat, begin near the center and pull the brush toward the free edge. Add side strokes inside the nail perimeter, deliberately leaving the same small amount of visible nail on both sides.
- Use a second thin coat to deepen color, not to widen the silhouette. Check each nail at arm’s length before adding more polish.
- Finish with a clear top coat across the nail, including the visible side margins, if that suits your routine.
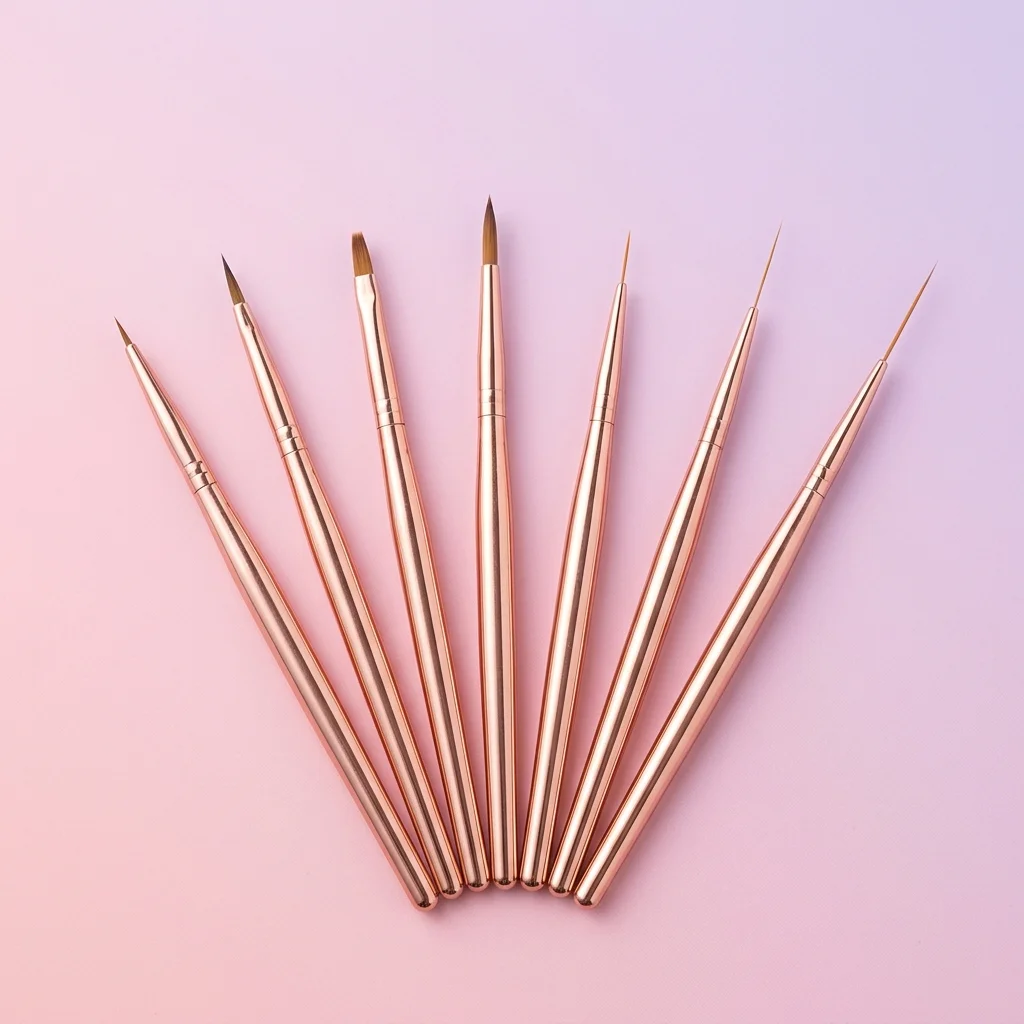
A fine liner brush can help refine an edge, but it is not mandatory. The most convincing version is often painted with the bottle brush and a light hand. If the non-dominant hand makes matching margins difficult, choose a sheer shade first. It softens minor variation while you learn what looks proportionate on your own nails.
Gel and chrome boundaries to keep in mind
Gel gives you a pause to inspect the shape before curing, but it does not automatically create a precise margin. Each thin color layer should preserve the same narrowed outline; building thick product at the sides to correct a line can muddy the result. If you are new to a gel setup, our guide to gel polish starter kits explains the system components, and our guide to thin gel polish coats covers the application principle that matters here.
For gel, and for chrome work built on gel, keep uncured gel off skin. If color reaches skin, clean the accidental contact before cure using the maker’s directions. Follow the matched product-and-lamp cure instructions, and stop for irritation or painful heat. If the finish develops an unexpected texture or does not look properly set, consult our guide to gel curing problems rather than trying to conceal it with more layers.
Chrome changes the visibility of the design rather than the design’s structure. A reflective finish should remain inside the same colored silhouette as the base beneath it; otherwise the sidewall margin becomes uneven by default. Pearl chrome over a soft nude keeps the boundary gentler, while a mirror-like silver or dark chrome makes the narrow channel a deliberate graphic element. For either direction, map the color placement first and treat the reflection as a finish, not a correction tool.
Adjusting the technique for round, squoval, and almond nails
On a short round nail, do not try to force perfectly straight inner edges. Let the colored outline curve with the nail, using a high, narrow French smile only if there is enough free edge to support it. A natural round shape can look elegant with full color and side margins alone; the tip is optional.
Squoval nails need the most attention at the corners. Keep the colored sides relatively upright through the middle of the nail, then soften the turn as the shape approaches the free edge. If the color makes a blunt right angle at each corner, the manicure can read as a smaller square sitting inside a larger square.
For a short almond, preserve the existing taper. The colored silhouette should narrow gradually toward the tip, not form a sharp V within the nail. If there is not enough length to create a true almond without forcing the file shape, a softly tapered round is the more coherent choice. Across all shapes, aim for equal apparent width rather than an identical measurement. One nail may require a subtly different line to look balanced next to another.
Color contrast is the volume knob
High contrast makes the technique easier to see and harder to execute casually. A deep espresso, oxblood, navy, or black crème against visible natural nail creates a crisp vertical frame, but any mismatch in the margins becomes part of the design. White micro French tips have a similar effect because the eye notices their horizontal line immediately. Keep those tips narrow and closer to the free edge if the aim is length rather than a traditional, more pronounced French.
Sheer pinks, beige jellies, translucent berries, and muted mauves make the side placement softer. They are a sensible choice when you want the polish shape to be noticed on a second look rather than announced from across the room. Matte finishes can make the boundary appear more defined because there is less reflected light, while gloss tends to make the color field feel more continuous. If the polish color is nearly identical to your natural nail, either commit to a barely there result or choose a contrasting tip; an unclear boundary can look like incomplete application instead of intentional placement.
Common mistakes and how to troubleshoot them
The most frequent error is treating the negative space as a fixed measurement. A margin that is technically the same width on every nail can still look uneven because nail plates vary in width, curve, and centerline. Check the design as a whole, then make small visual adjustments before the color is set or cured.
- One side margin looks wider than the other.
- Look at the nail from straight on and compare the colored shape to the nail’s visual center, not just its physical edges. On an asymmetrical nail, a slightly offset colored shape may look more centered than a ruler-straight one.
- The nail looks shorter after adding a French tip.
- The smile line is probably too low or too thick. Raise it toward the free edge, reduce its width, or skip the tip and let the narrowed full-color shape do the work.
- The visible side margins look like mistakes.
- They may be too wide, irregular, or interrupted near the corners. The channels should be subtle and continuous. If an opaque first coat is seriously misaligned, restarting the color section is often cleaner than repeatedly widening the opposite side to compensate.
- The color pinches at the corners.
- This is common on squoval nails when the brush turns inward too early. Keep the vertical portion of the colored shape longer, then follow the nail’s curve only near the end of the sidewall.
Do not use skin as the edge of the design. Polish that reaches the skin can make the margin look narrower on one side and broader on the other, even before it creates any other issue. Keep the visual gap on the nail plate itself, and use the product’s intended cleanup directions if color travels outside the nail. For recurring gel lifting questions after application, see our guide to why gel polish peels off.
FAQ
Does an Italian manicure actually lengthen short nails?
No. It leaves the nail’s physical length unchanged. The narrow side margins can create a longer-looking, narrower polish silhouette.
Do the side margins have to be completely bare?
No. A clear base and top coat may cover the nail. The important distinction is that colored polish does not extend all the way to the sidewalls.
Can I use regular nail polish instead of gel?
Yes. Standard polish works well for testing the technique, although sheer and medium-contrast colors are generally easier to place neatly than very opaque shades.
Is an Italian manicure the same thing as a French manicure?
Not exactly. A French manicure refers to the tip design. Italian placement refers to narrowing the colored silhouette at the sides; the two ideas can be combined.
The appeal of this manicure is not a formula or a promise hidden in the name. It is a small act of proportion: a polished shape placed thoughtfully inside the shape you already have. On short nails, that restraint can be more interesting than trying to create length where there is none.