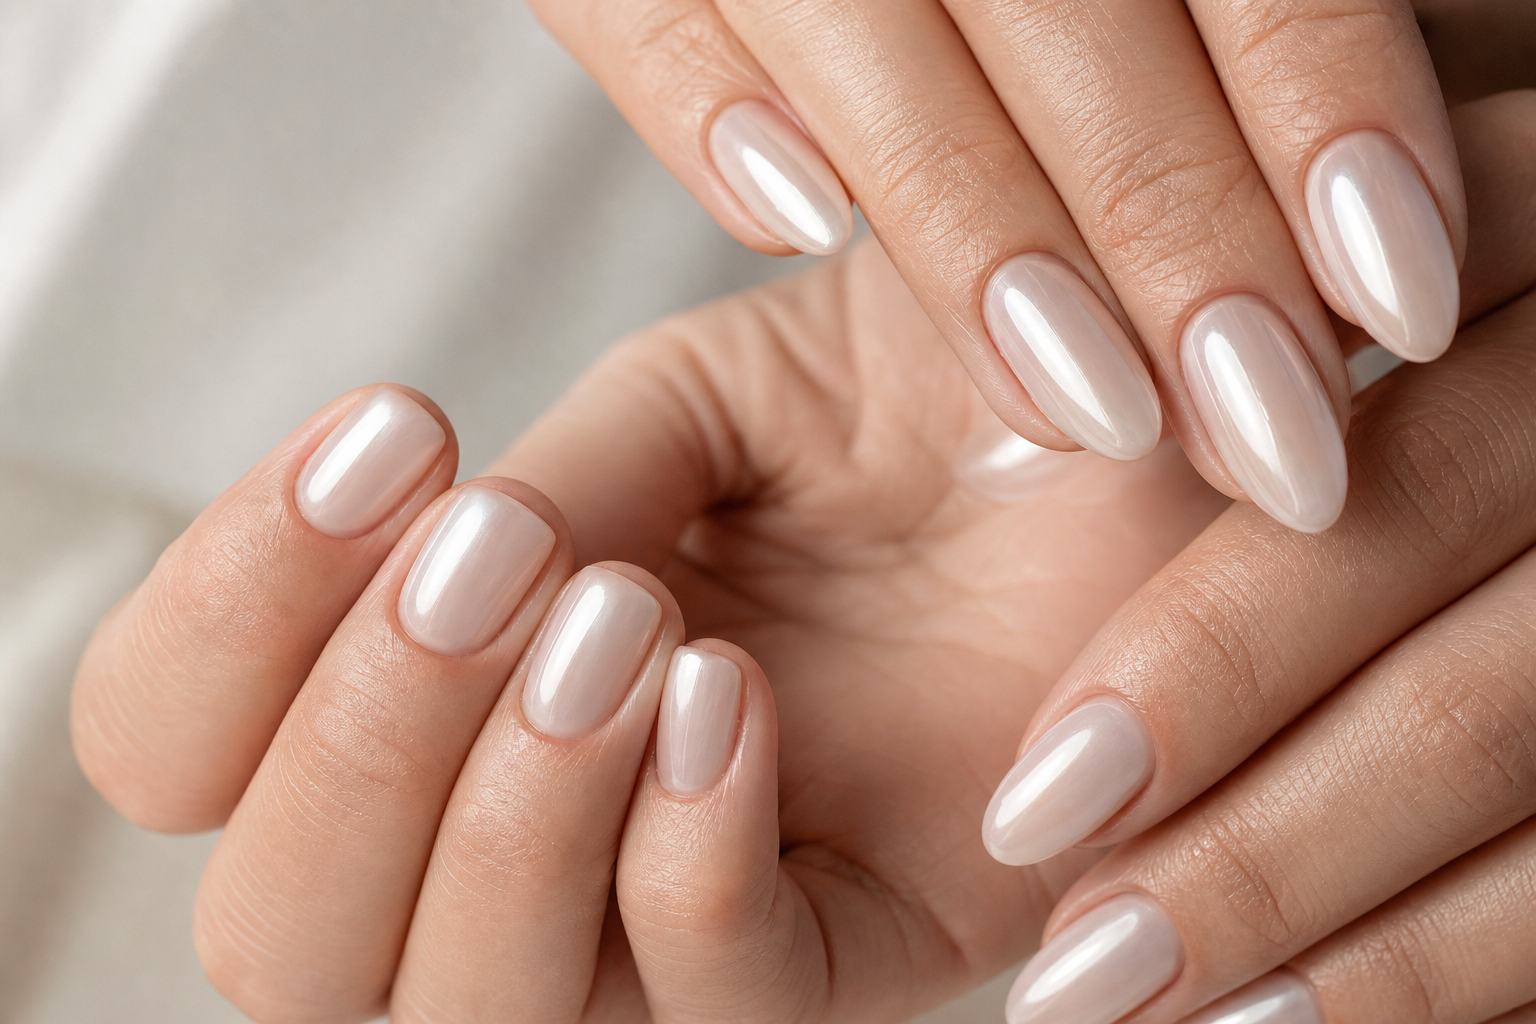
At arm’s length, a well-balanced milky chrome manicure can look almost like a bare nail viewed through pearly glass. Move your hand, though, and the surface catches light with a cool, shell-like gleam. That tension between a clouded base and a controlled reflection is what gives the look its appeal.
What makes a manicure milky chrome?
Milky chrome is not a single polish color so much as a layered finish. It starts with a translucent or semi-sheer base in milky pink, beige, ivory, nude, or soft white. A fine pearl or micro-chrome powder sits over that base, adding reflected light without turning the whole nail into an opaque metallic plate. The underlying color should still have a presence; if the nail reads entirely silver, white, or frosted, the balance has shifted away from milky chrome.
The word milky refers to diffusion, not necessarily literal white. A sheer blush base can make the result look like pink pearl. A beige base can lean creamy and warmer. A jelly ivory can suggest a polished porcelain surface. The common thread is a veil of opacity that blurs the natural nail line while leaving enough translucency for the finish to feel light rather than chalky.
Chrome terminology is loose, so it helps to be specific. A glazed manicure usually describes a sheer base with a pearlescent sheen; the base can remain fairly transparent. Mirror chrome is sharper, more metallic, and more reflective, often with a distinct silver cast. Milky chrome lives in the middle: more diffused and creamy than a standard glaze, but much less metallic than a mirror finish. Those labels can vary from one salon or product line to another, which is why describing the desired amount of coverage and reflection matters more than relying on one name.
Choose the base, powder, and density together
The powder does not work independently from the base beneath it. A cool powder over a warm nude may look pearly and dimensional, while the same powder over a stark white can appear icy. Think of the base as the atmosphere and the powder as the light source.
| Starting base | Powder tone | Application density | Visual effect | Best direction |
|---|---|---|---|---|
| Sheer blush pink | White pearl | Very light | Translucent pink with a shell sheen | For a clean, delicate read |
| Milky beige | Champagne pearl | Light to medium | Warm cream with a candlelit reflection | For soft warmth without obvious gold |
| Jelly ivory | Opal or pale pink pearl | Light | Clouded ivory with subtle color movement | For a porcelain-like finish |
| Neutral nude | Pale silver micro-chrome | Trace amount | Neutral base with a cooler flash | For a more defined chrome note |
| Milky white | Cool white pearl | Light | Bright, frosted-looking pearl | For a crisp version that stays non-mirror |
The build: translucent color first, reflection second
Milky chrome exposes surface texture, so the foundation deserves more attention than the powder. Start with a clean, even nail surface and avoid over-filing natural nails in pursuit of total smoothness. If you have visible ridges, a compatible smoothing or leveling layer may help create a more even canvas. The goal is not bulk; it is a surface that will not break up the reflection with dips, lumps, or uneven color.
Keep the base color deliberately thin. A milky shade often looks more modern when it is built in restrained layers rather than applied as one dense blanket, and our guide to thin gel polish coats explains why that approach also makes it easier to control coverage. The chrome is generally burnished over a top layer intended for that powder system, then sealed with a final top coat. Powder behavior varies widely, so a no-wipe top coat is not a universal shortcut: check the directions for the specific powder and top coat, and test the combination on a swatch before committing to all ten nails.
For this finish, less powder is a useful starting point. You are looking for an even veil, not loose pigment visibly sitting on the nail. Dust away excess before sealing, and apply the final coat with a light, controlled touch rather than repeatedly working over the same area.
What to ask for at the salon
A clear request is more useful than simply asking for chrome. Try: “I’d like a sheer milky pink or beige base with a fine pearl chrome, burnished lightly. I want glow rather than a silver mirror finish, and I’d like some of the base color to remain visible.”
If the undertone matters to you, add it. Ask for a warm ivory rather than a bright white, a neutral beige rather than peach, or a translucent pink rather than an opaque bubblegum shade. It is also reasonable to ask whether the technician can show the powder against the chosen base on a sample tip. A powder that looks white in its jar can shift noticeably over different colors. Bring reference images that show the manicure in ordinary daylight as well as close-up flash photography, since intense lighting can make a quiet pearl effect look more metallic than it reads in person.
How length and shape change the result
On short rounded or squoval nails, milky chrome feels concise and polished. Keep the base relatively sheer so the nail does not read as a block of white, especially if the free edge is short. Short soft-square nails give the reflection a tidy, graphic boundary; filing the corners slightly prevents the effect from feeling overly hard.
Medium oval and almond shapes offer more room for a diffused pearl gradient, a micro-French, or a subtle aura center. The elongated silhouette makes even a low-density powder look more apparent because there is more surface for light to travel across. On long almond, coffin, or tapered square nails, consider dialing back either the base opacity or the chrome density. A long nail with a dense white base and strong silver powder becomes a deliberate statement, which may be exactly the point—but it is a different visual category from the airy, milky version.
Finish and color variations that keep the idea intact
One-color milky chrome is the clearest expression of the trend: one sheer neutral base, pearl chrome over the entire nail, and a glossy seal. It is particularly effective when the base is carefully matched to the level of warmth you want in the final manicure.
- Vanilla pearl: A creamy ivory base with champagne or white pearl. This reads softer than a bright white chrome and works well with an oval shape.
- Pink shell: A translucent pink base with white or pink pearl powder. Keep the color clear enough that it does not become opaque pastel polish under shine.
- Milky French: Use a sheer milky body, then add a slim white French tip before the pearl finish. The chrome should be applied sparingly so the tip remains legible rather than disappearing into frost.
- Pearl aura: Place a diffused blush, mauve, or nude center beneath the chrome, then use a gentle pearl layer to soften the boundary. The aura should look hazy, not like a solid circle stamped in the center of each nail.
- Smoky neutral: Pair mushroom beige, muted rose, or soft taupe with a pale silver or lilac pearl. This version is more shadowed and can turn gray quickly, so test the powder density before doing the full set.
Gloss is the usual finish because it allows the pearl reflection to stay clear. A satin or velvet top coat can soften the light further, but it also changes the manicure from chrome-adjacent shine into a more muted pearlescent effect. That can be beautiful, just not interchangeable with a glazed surface.
At-home options and their limits
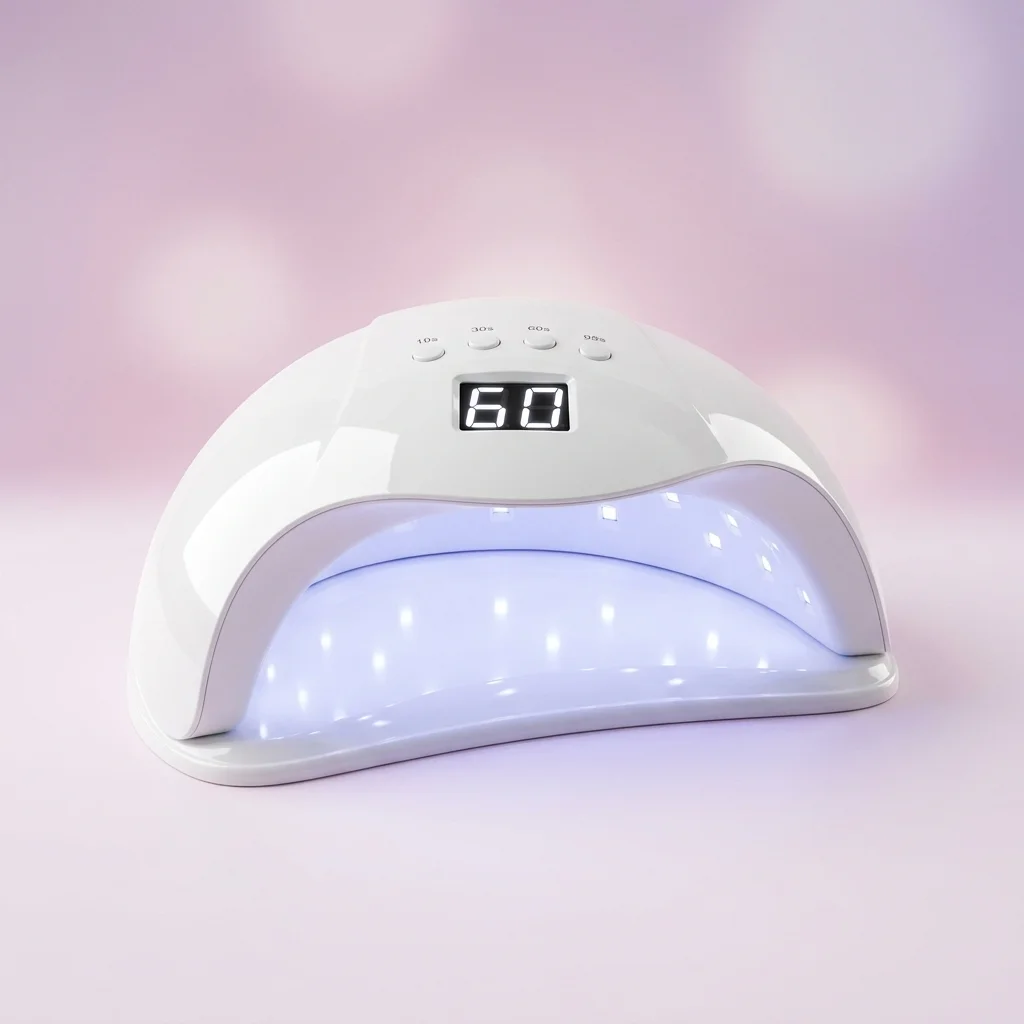
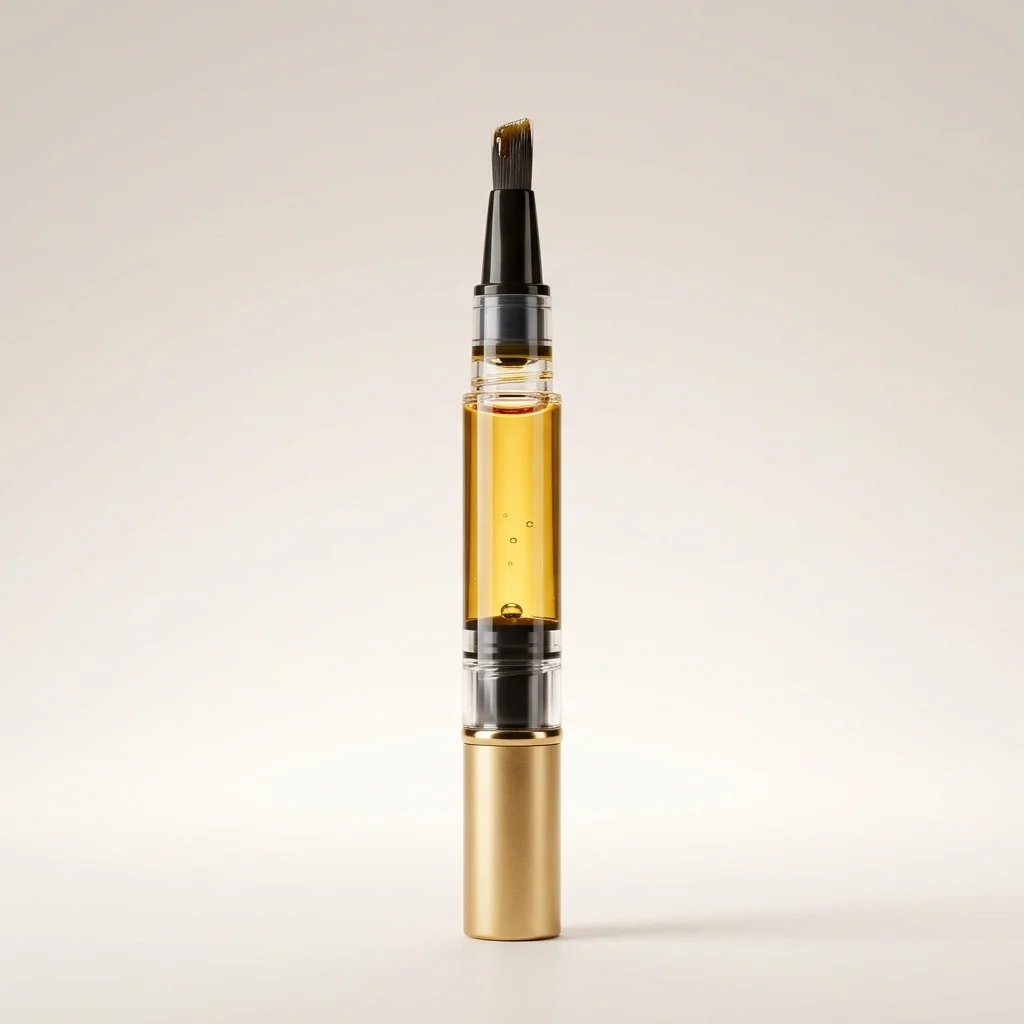
The closest at-home version uses a powder and gel system designed to work together. If you are assembling a kit rather than booking an appointment, review what is included in gel polish starter kits and confirm that your lamp, base, top coat, and powder are compatible. A jar labeled chrome may contain anything from fine burnishing powder to larger flakes or glitter, and only very fine particles produce the restrained, even reflection associated with milky chrome.
- Prepare the nail and apply your chosen sheer milky color in thin, even layers.
- Use the top layer specified by the powder maker, following that system’s instructions before burnishing.
- Pick up a very small amount of powder with the recommended applicator and work it over the nail until the reflection looks even.
- Remove loose excess, then seal the design according to the product directions, taking care not to flood the sidewalls or cuticle area.
For any gel-and-chrome process, keep uncured gel off the skin. If gel touches skin, clean the accidental contact before cure using the maker’s directions. Follow the matched product/lamp cure instructions rather than borrowing timing from a different brand, and stop if you experience irritation or painful heat. If the surface seems tacky, wrinkled, or inconsistent after curing, pause the manicure and consult our guide to gel polish curing problems before adding powder over it.
An air-dry alternative can still capture the color language of milky chrome. Start with a sheer milky lacquer and add a translucent pearlescent topper, or choose a polish with a fine pearl shimmer already suspended in the formula. It will not create the same burnished chrome plane as a compatible powder over gel, but it can offer a softer, lower-equipment interpretation. Treat it as its own finish rather than a failed substitute.
Why milky chrome can look grainy, dull, or thick
Most disappointing results come down to a mismatch between surface, powder, and restraint. Because the whole manicure is designed around reflected light, small construction issues become visible quickly.
Grainy or speckled reflection
This often means there is too much loose powder, the particles are too large for a glazed effect, or the powder was not used over the surface intended for it. Choose a finer pearl powder, begin with less product, and test the exact product pairing on a sample tip. Chrome can also expose an uneven base, so inspect the nail before moving to the reflective layer.
Dull chrome after sealing
A heavy final coat or repeated brush strokes can disrupt the clean reflection. Work carefully and avoid treating the seal as another color layer that needs to be scrubbed into place. If a powder consistently loses its sheen under a particular top coat, that pairing may simply not be compatible.
Thick, chalky-looking nails
The usual culprit is too much opacity in the base combined with too much powder and multiple generous top layers. Pull back one variable at a time: use a sheerer base, reduce the chrome density, or choose a warmer pearl. Milky does not require solid white coverage.
Gray or icy tone
Cool silver powder over a cool nude can drain warmth from the manicure. Move toward champagne, pale pink, or opal pearl, or start with a slightly warmer beige base. Conversely, if a manicure looks too yellow, switch to a neutral blush base rather than piling on more white powder.
Patchiness near the tip or sidewalls
Uneven color layers, missed areas of top coat, and excess powder collecting at the edges can all interrupt the finish. Check the nail from several angles before sealing. Fixing a small patch early is more controlled than adding a dense second powder layer over the entire nail.
Care, lifting, and removal considerations
Do not peel or force off a gel-and-chrome manicure, particularly if an edge begins lifting. Adding another coat over an existing lift only conceals the issue temporarily. For a closer look at common causes, see why gel polish peels off. Removal methods depend on the exact gel system and product directions, so avoid assuming that one approach suits every formula. If you are comparing ingredient information because of prior sensitivity concerns, our HEMA-free gel polish guide is a useful starting point for reading labels and understanding the category.
Milky chrome nails FAQ
Are milky chrome and glazed nails the same thing?
They overlap, but they are not identical. Glazed usually emphasizes a sheer pearly sheen, while milky chrome uses a more clouded base to diffuse the nail underneath. Either may use pearl powder, depending on the product system.
Does milky chrome require gel?
A burnished chrome powder is commonly used with a compatible gel top layer, but a milky lacquer and fine pearl topper can create a related air-dry look. The visual result is softer and less metallic.
What powder should I look for?
Look for very fine white pearl, opal, pink pearl, champagne pearl, or micro-chrome powder. Avoid chunky glitter and dense mirror silver if your goal is a diffused, milky finish.
Can this work on natural nails?
Yes. The key is an even surface, a base color suited to your natural nail tone, and a product system used as directed. Short natural nails can look especially refined with a sheer blush or beige version.
Milky chrome is most convincing when it leaves a little mystery in the finish: a hint of the base, a trace of pearl, and no need to announce every layer used to create it. For more ideas that explore reflection, texture, and color in a different direction, browse our nail trends archive.