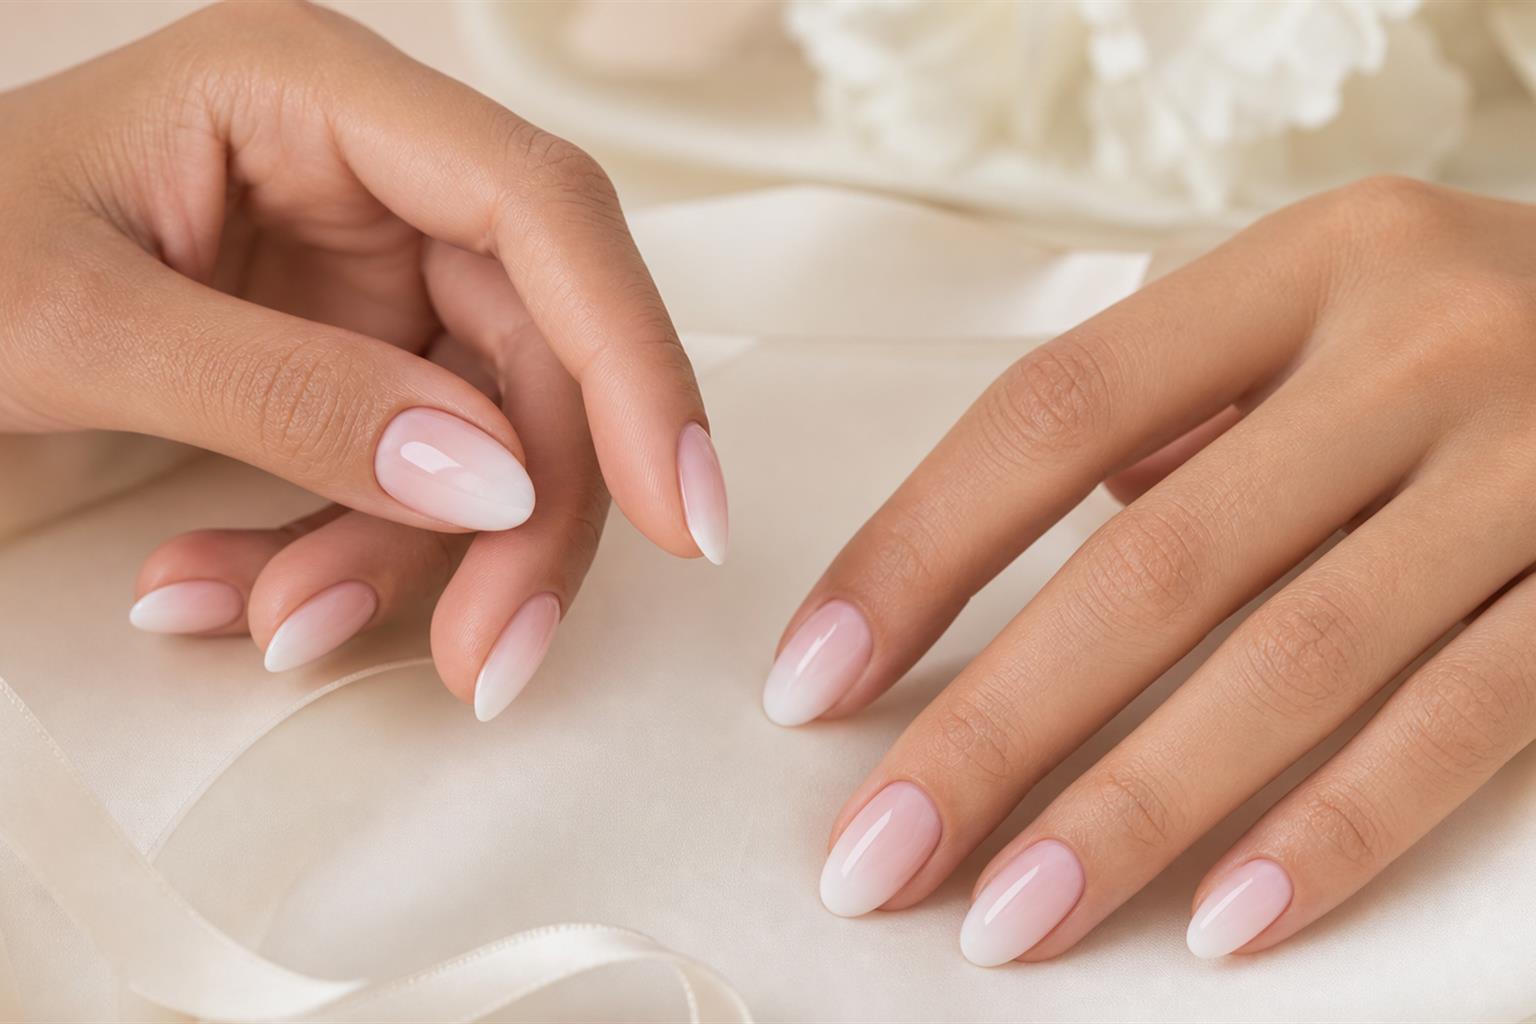
At arm’s length, a French ombré manicure reads like a French manicure remembered rather than drawn: a pale tip appears to emerge from a translucent neutral nail instead of sitting on top of it. The detail becomes clearer as the hand moves, which is precisely why this style can feel restrained without looking plain.
What French ombré nails actually are
French ombré is a soft gradient that moves from a sheer pink, beige, peach, or milky neutral base into a light tip. Instead of a crisp white smile line, the color transition is blurred. The white is usually most concentrated at the free edge, then thins out as it travels toward the nail bed. A successful version has definition at the tip without an obvious border where the French portion begins.
You may also see the look called baby boomer nails on some salon menus. The terms are often used for the same neutral-base, pale-tip fade, though individual salons may use slightly different language or show different levels of contrast in their reference photos. If you are booking, the image and the details of the fade matter more than the label alone.
A classic French manicure separates the nail into two distinct fields: a base color and a defined tip. French ombré replaces that line with a transition. A milky French, by comparison, may use a hazy sheer base but still retain a visible tip edge. If you want the French reference to be present but not graphic, ombré is the more precise request.
Where the gradient should sit
Gradient placement is the decision that changes the manicure most. On a short nail, the fade needs to stay close to the free edge; allowing white to travel too far down can make the entire nail look pale and compressed. On a longer nail, there is room for a broader transition, with the soft white beginning nearer the center while the strongest concentration remains at the tip.
Contrast determines whether the result reads nearly natural or clearly French-inspired. A sheer beige base paired with ivory creates a low-contrast fade. A rosy neutral with clean white gives more definition. The larger the color distance between base and tip, the more deliberate and graphic the ombré appears. Neither direction is inherently better, but it helps to decide whether you want people to notice a French effect immediately or only when they look closely.
Adjusting French ombré for length and shape
French ombré is not limited to long almond extensions. The proportions simply need to respond to the nail’s available space and its silhouette.
- Short rounded or squoval nails: Keep the base dominant and the white restricted to the last portion of the nail. An ivory or softly milky tip can feel more balanced than stark, opaque white on a very short free edge.
- Short square nails: A straight free edge gives the design a clean endpoint, so the fade should look deliberately diffused rather than like a blurred horizontal stripe. A little extra transparency through the center prevents a blocky effect.
- Medium oval and almond nails: These shapes offer enough length for a visible transition without requiring a dramatic amount of white. The taper naturally directs attention toward the gradient at the tip.
- Long almond, coffin, or tapered square nails: A broader fade can work here, but a dense white section that extends too low may overwhelm the neutral base. Long nails can carry more contrast; that does not mean every inch needs to be white.
If you are choosing between a new shape and a new color treatment, settle the shape first. The exact same pink-and-white palette can look airy on an oval nail, crisp on a squoval, or more stylized on a long coffin shape.
How to ask for French ombré at the salon
A useful salon request names the base, the tip tone, the amount of fade, the shape, and the finish. “French ombré” gives a technician the general direction, but it does not specify whether you want a quiet beige veil, a bright bridal-style white, or a pearly finish. Bring one or two reference images with a nail length close to your own. A photo of a long extension is not a reliable map for a short natural nail.
Try this wording: “I’d like a French ombré, sometimes called baby boomer, with a sheer neutral-pink base and a soft ivory-white tip. I don’t want a hard smile line. My nails are short oval, so please keep the white near the free edge and make the fade subtle. I’d like a glossy finish, not a strong chrome.”
For a higher-contrast result, replace “subtle” with “a more visible white tip” and specify where you want the fade to begin. If you prefer your natural nail tone to remain visible near the cuticle, say so. It is also worth asking which service system is being used—regular polish, gel polish, a structured gel overlay, or an enhancement—rather than assuming that the visual reference dictates the service.
French ombré methods and the results they produce
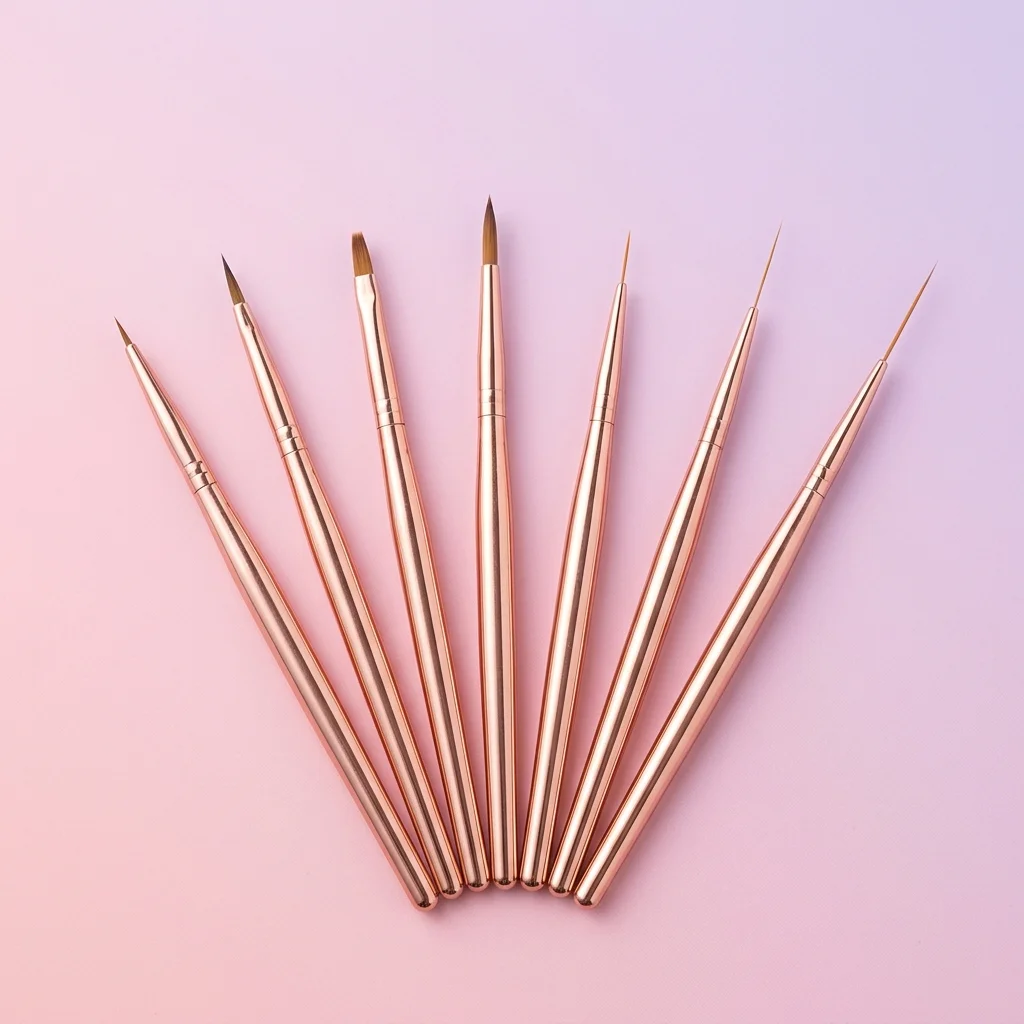
Sponge, brush, and airbrush approaches can all create a French ombré effect. The method affects the texture of the fade, the amount of control available at the edge, and what equipment is involved. It is more useful to choose by the finish you want than by assuming one category is inherently simpler than another.
| Method | How the fade is created | Visual result | What to consider |
|---|---|---|---|
| Sponge blending | Color is transferred in soft, repeated impressions near the tip. | A diffused, slightly cloudlike transition with a concentrated edge. | Too much product on the sponge can leave a textured or spotty-looking fade. |
| Brush feathering | A brush pulls or softens color from the tip into the base area. | A more directional gradient that can be adjusted in small areas. | Brush marks can become visible if the color is too opaque or the blend is overworked. |
| Airbrush or airbrush-style spray | Fine color is dispersed over the tip and softly tapered upward. | An even mist effect with very little visible linework. | This approach involves specialized equipment, masking, and careful containment around the nail. |
At-home options and realistic limitations
An at-home French ombré can be a worthwhile project when the goal is a soft interpretation rather than a frame-for-frame salon replica. The close-up details are sensitive: the opacity of the base, the amount of white picked up by a sponge, brush pressure, cleanup, and even the lighting used for a photo can change the apparent fade. Testing the pair on a practice tip first is useful because it quickly shows whether your chosen white looks crisp, chalky, too cool, or too faint over the neutral base.
Regular polish can create the effect, and gel systems can create it, but the products call for their own application order and handling. Avoid trying to force opacity with heavy layers; French ombré depends on the relationship between translucent color and concentrated color. If you are working with gel, our guide to thin gel polish coats is useful background before you begin, and this gel starter kit guide can help you identify the basic components of a matched setup.
For gel or chrome work, keep uncured gel off the skin. Clean accidental contact before cure using the maker’s directions, follow the matched product and lamp cure instructions, and stop for irritation or painful heat. If a gel blend looks wrinkled, unevenly set, or otherwise questionable, do not add more layers to disguise it; review our guide to gel polish curing problems before trying again. If ingredient labels are part of your buying decision, see our HEMA-free gel polish guide.
Color and finish variations that keep the fade intentional
The familiar version is a translucent blush base with a soft white tip, but the base-and-tip relationship leaves room for nuance. A warm beige base and ivory tip can feel less stark than cool pink and bright white. A milky nude base produces a softer, more opaque-looking middle section. A sheer peach base shifts the mood warmer without abandoning the French reference. On deeper skin tones, a caramel, cocoa, rose, or warm nude base with a bone or cream tip can create a more integrated transition than treating pale pink as the default neutral.
- Glossy French ombré: The cleanest read of the gradient, especially when the base is sheer.
- Pearl-glazed ombré: A restrained pearly chrome finish catches light across the entire nail. It works best as a finish layer rather than competing with the fade through strong metallic color.
- Milky ombré: More creamy through the center, with less distinction between base and tip. Watch for excess opacity, which can turn a gradient into a cloudy block.
- Color-tipped ombré: Butter yellow, pale blue, soft lilac, or muted red can replace white for a French-inspired variation. Keep the base translucent if you still want the blended structure to register.
Maintenance and the grow-out question
French ombré does not eliminate grow-out, but a sheer base close to the natural nail color can make the change at the cuticle read as a softer shift than an opaque, high-contrast manicure. The tip is still the part most likely to look visually uneven first because it carries the lightest color. Keep the free edge tidy, avoid using nails as tools, and book a refresh when the proportions no longer look right to you rather than relying on a calendar rule. If a gel manicure begins lifting, avoid painting over the lifted area; our guide to why gel polish peels off explains common factors to consider.
Common French ombré mistakes—and how to redirect them
The difference between a delicate fade and a murky manicure is often small. Before starting over, identify whether the problem is placement, opacity, or color temperature.
- The result looks like a blurred French stripe. The white may be too dense too far from the tip. Move the concentration outward and let the neutral base reclaim more of the nail.
- The white looks chalky. Try an off-white, ivory, or milky shade rather than the brightest white in the collection. A base that is too gray or too opaque can also make the tip look harsher.
- The whole nail looks muddy. The colors may have been worked together too many times, or the pink and white may not belong to the same temperature family. Start with fewer, clearer layers of color rather than repeatedly blending the middle.
- The tip disappears entirely. A gradient still needs a point of brightness at the free edge. Keep the transition soft, but leave a narrow zone where the pale shade is visibly stronger.
- Short nails look overly white. Reduce the height of the fade instead of simply switching to a lighter base. On short lengths, placement usually matters more than adding more color.
For salon corrections, say what you see rather than only saying that the set feels “off.” “The white starts too low,” “the base is too cool,” or “I want less cloudiness through the center” gives a technician something specific to adjust.
French ombré nails FAQ
Is French ombré the same as baby boomer nails?
Often, yes. Some salons use baby boomer for a soft pink-to-white French ombré, but menu language varies, so use a reference image and describe the level of contrast you want.
Can French ombré work on short natural nails?
Yes. Keep the white close to the free edge and choose a narrow, diffused fade. A subtle ivory tip generally gives short nails more breathing room than a wide opaque white section.
Can it be done with regular polish?
Yes, though the result depends on the opacity and behavior of the specific polishes. Practice the chosen color pair on a swatch before committing to all ten nails.
What is the best finish for a non-bridal French ombré?
A clear glossy finish, a beige-pink base, and softened ivory tips keep the look grounded. A sheer pearl glaze is another option if you want light reflection without introducing a new color.
French ombré works best when it is treated as a proportion exercise, not a generic pink-and-white preset. Choose the fade height for your nail length, set the contrast before the appointment, and let the tip remain softly visible rather than perfectly outlined.